
Scenario builder
The scenario builder is the visual editor where you create and modify scenarios. You reach it by clicking New scenario on the Automation page, or by clicking the name of an existing scenario to edit it.
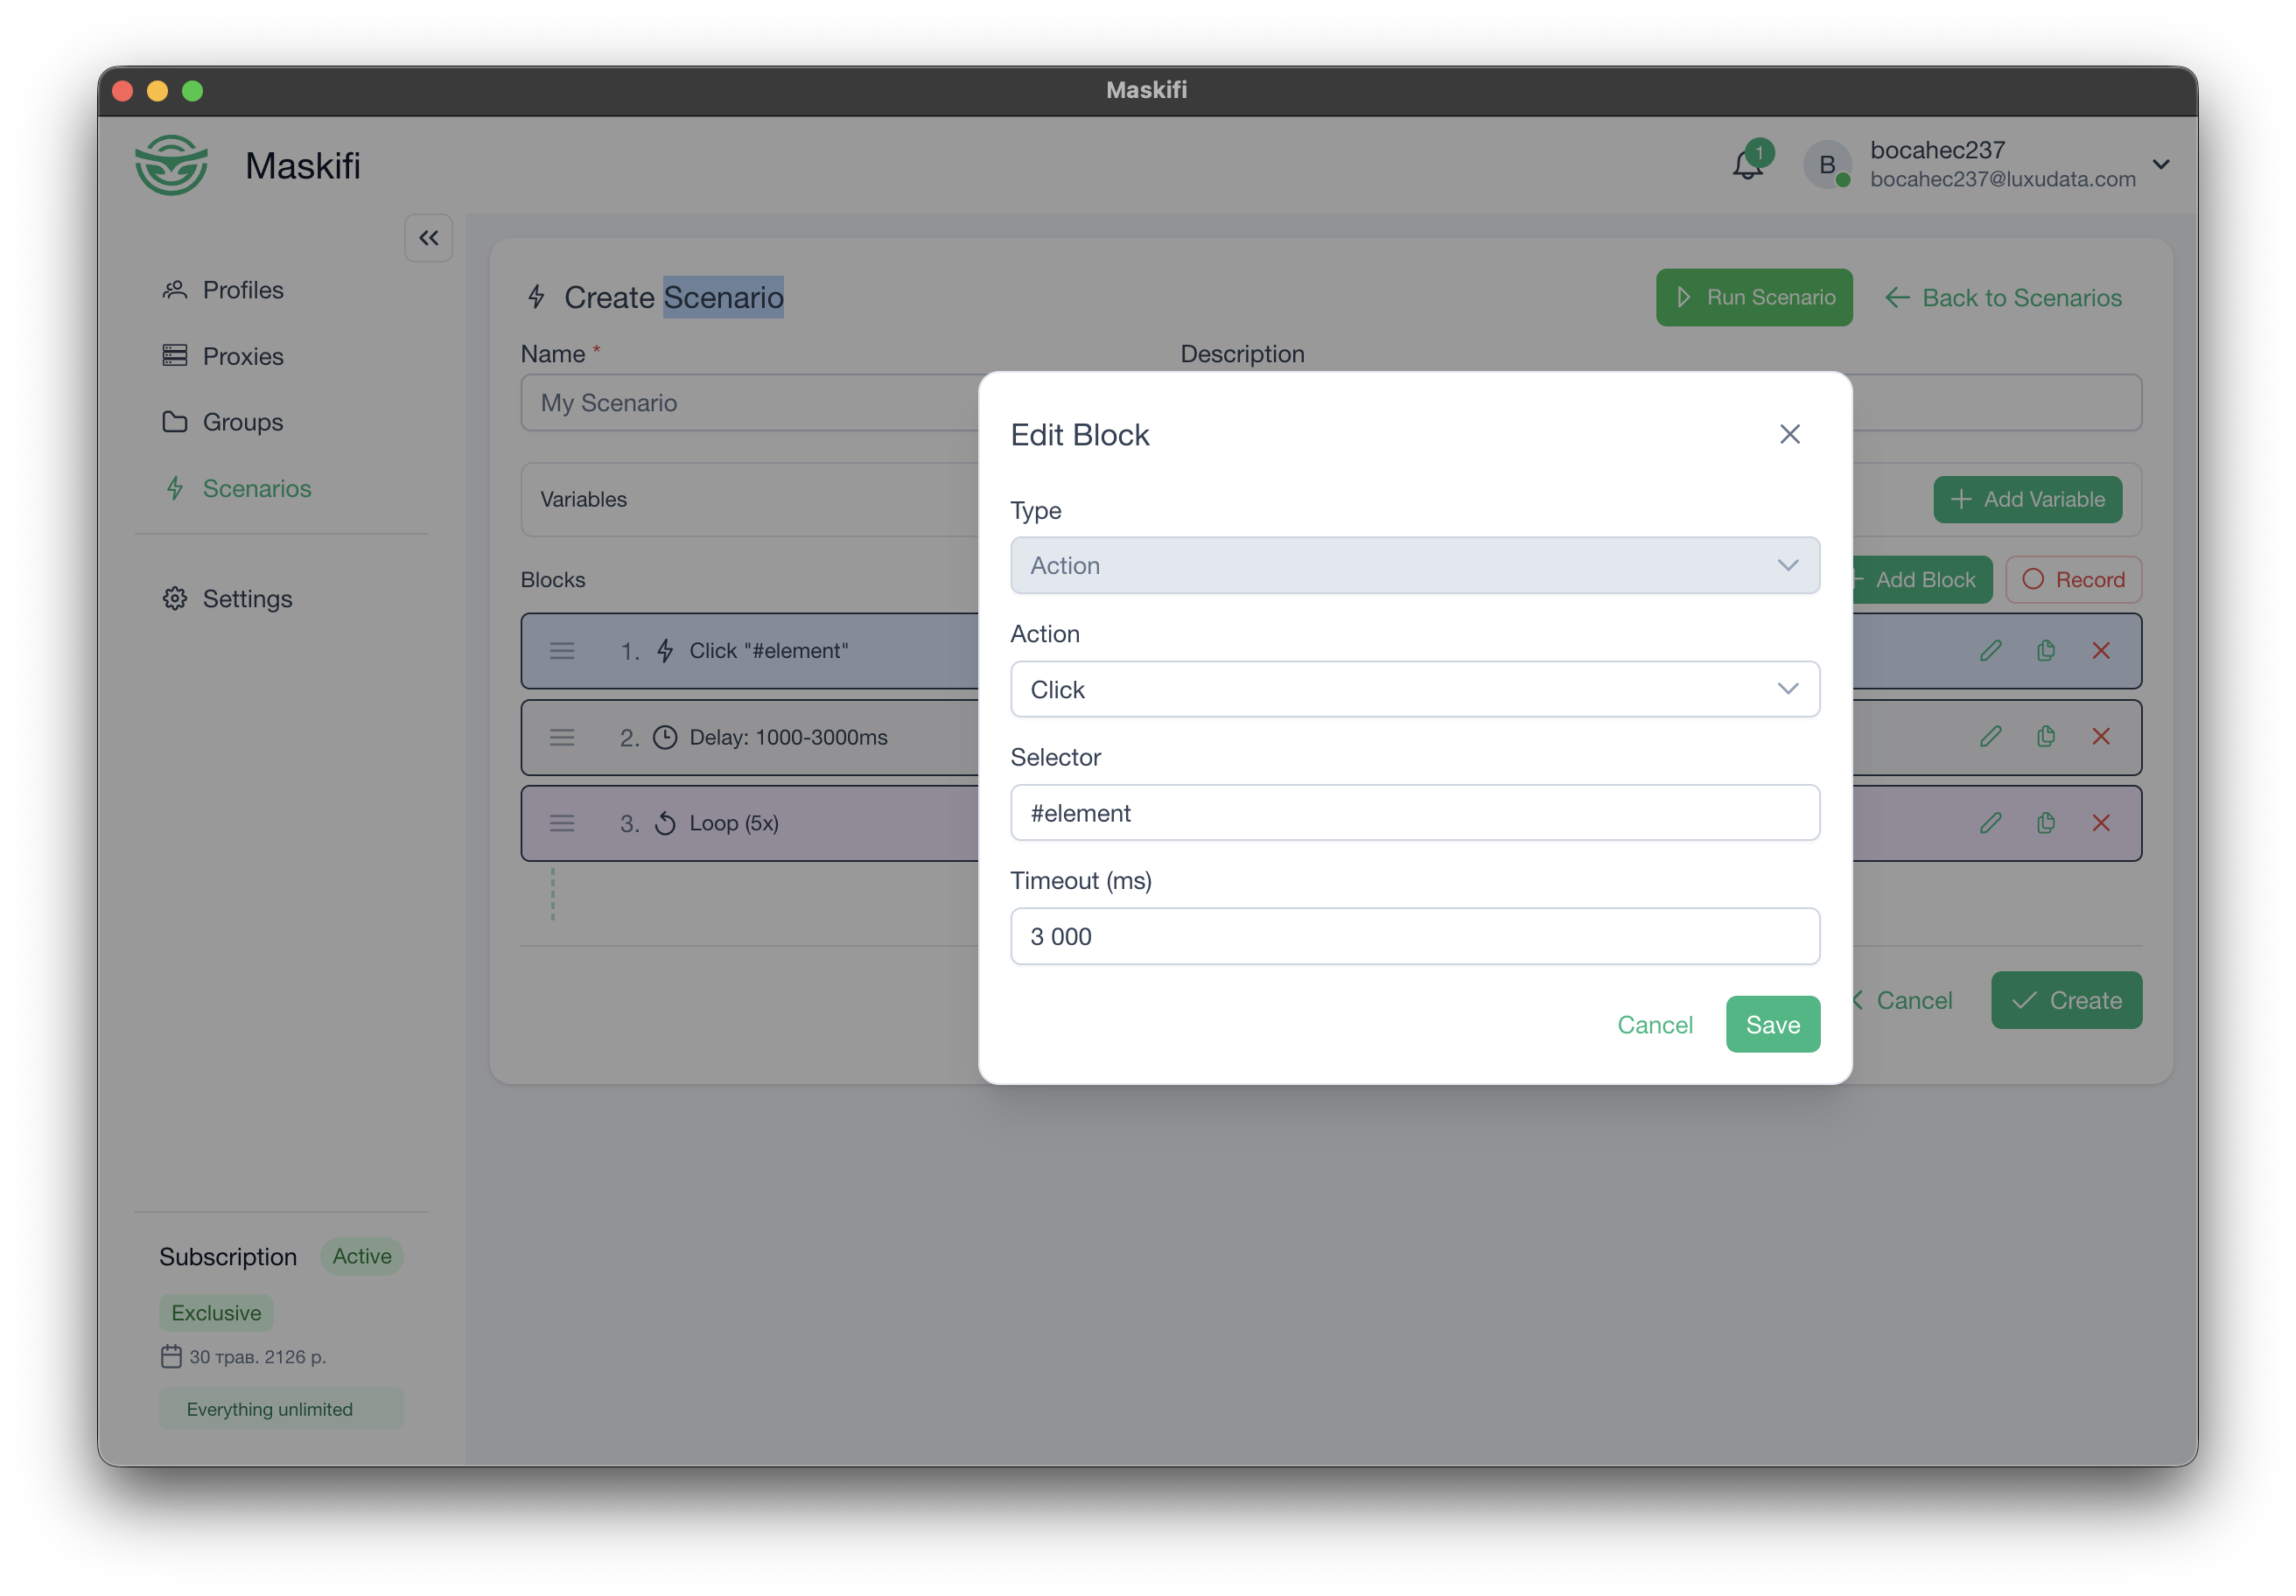
The editor layout
The builder has three main areas:
- Block list — the ordered list of blocks that make up your scenario, displayed top to bottom.
- Block editor dialog — a dialog that opens when you add or edit a block, where you set the block's type and parameters.
- Debug bar — appears at the bottom when you enter debug mode; shows live execution status and logs.
At the top of the editor are the scenario name field, description field, and buttons for saving and running.
Adding blocks
Click Add block (or the + button in the block list) to open the block editor dialog. Choose a block type from the dropdown, fill in the parameters, then click Save. The new block appears at the end of the list.
To insert a block in a specific position, use the insert control on an existing block.
Editing and removing blocks
Click the edit icon on any block to reopen the block editor dialog with that block's current values. Change what you need and click Save.
Click the delete icon on a block to remove it. There is no undo, so take care when deleting inside nested blocks (condition branches, loop bodies, try/catch arms).
Reordering blocks
Drag a block by its handle to change its position in the list.
Nested blocks
Condition, Loop, and Try/Catch blocks contain inner block lists (their branches, loop body, and error-handling arms). These nested lists work the same way as the top-level list — add, edit, delete, and reorder blocks within them.
Variables panel
Click Variables to open the variables panel. Here you define the input variables your scenario accepts — parameters that are filled in at run time. For each variable you specify:
- Name — used in
{{variableName}}interpolation inside block fields. - Type — text, number, or true/false.
- Required — whether the scenario will refuse to start if this value is not provided.
- Default value — (optional) pre-filled value shown in the run dialog.
See Variables & secrets for details on using variables in blocks.
Saving a scenario
Fill in the scenario name (required) and an optional description at the top of the editor, then click Save at the bottom. The scenario is stored and appears in the Automation list.
If you are editing an existing scenario, Save updates it in place.
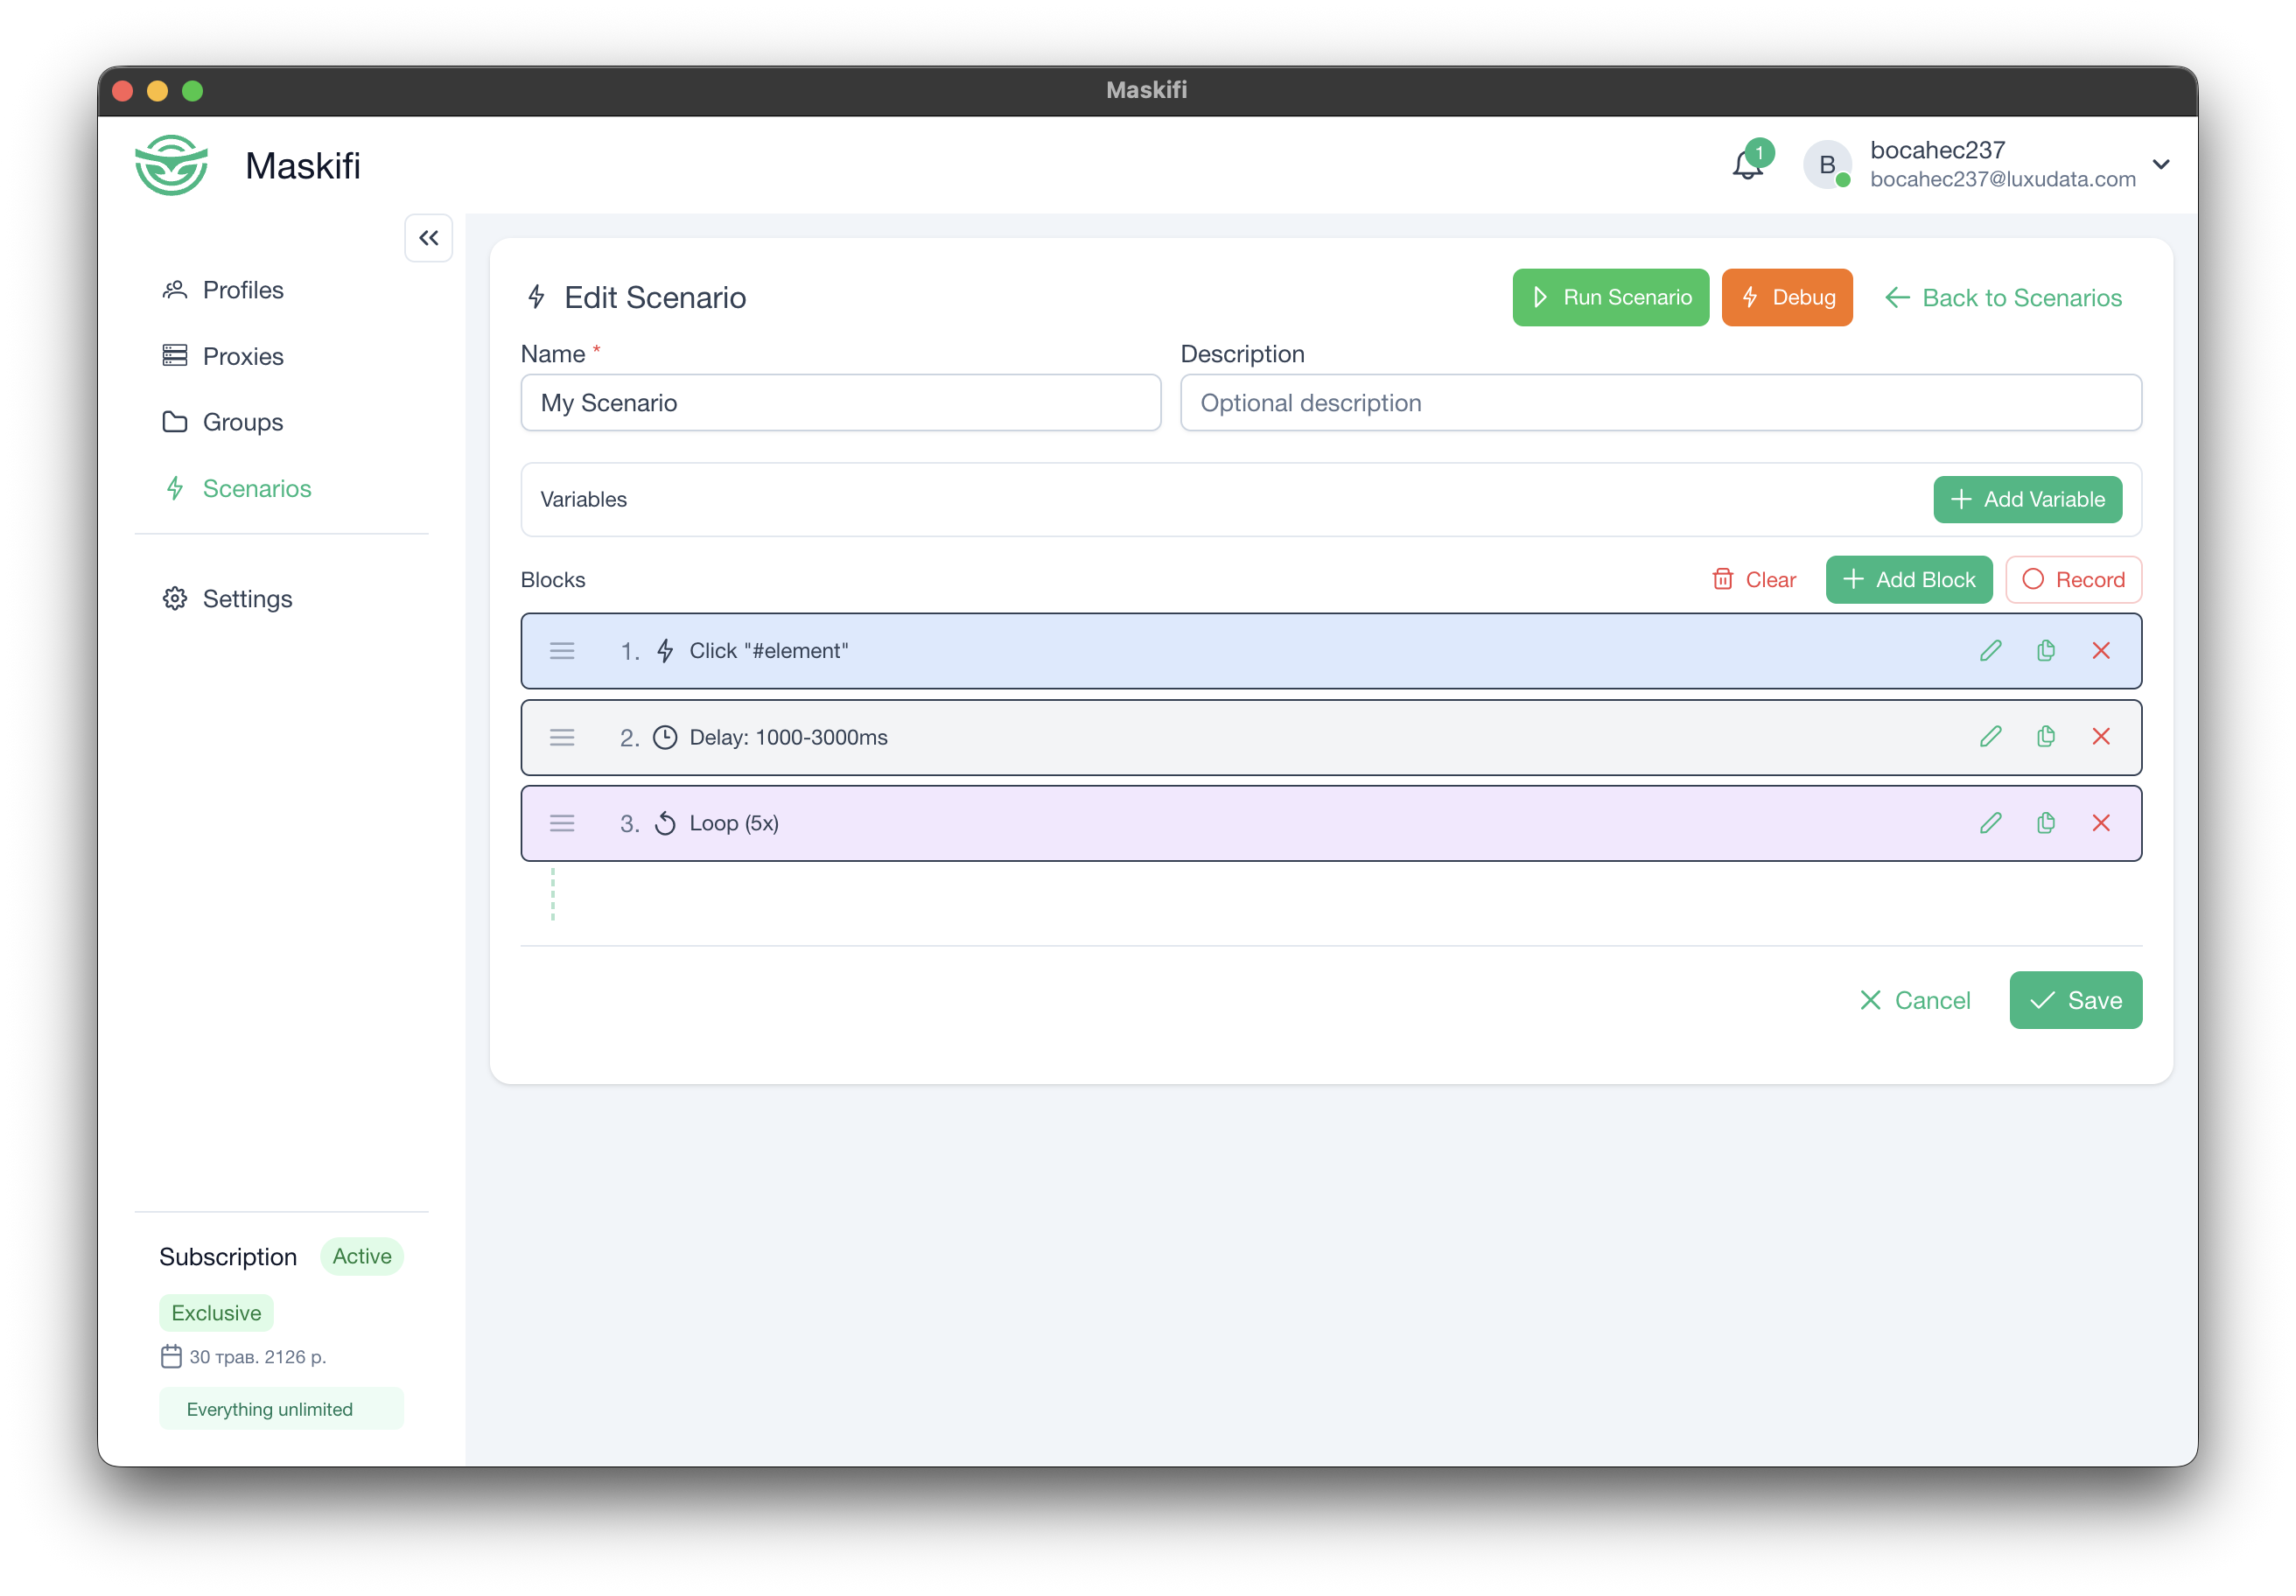
Running a scenario from the builder
Click Run to open the run configuration dialog without leaving the editor. This is useful for testing a scenario while you build it. You can:
- Select existing profiles to run the scenario against.
- Set variable values for this run.
- Start execution and monitor progress.
After starting, you are taken to the run view where you can watch block-by-block progress and read the execution log.
Debug mode
Click Debug to enter debug mode. In debug mode you:
- Select a profile to run the scenario against.
- Step through blocks one at a time or run freely.
- See live execution status on each block (pending, running, done, failed).
- Read log output in the debug bar at the bottom.
Debug mode is intended for finding problems in a scenario during development. Exit debug mode with the Exit button in the debug bar.
Importing and exporting scenarios
From the Automation list you can export a scenario to a .json file. The file contains the scenario name, description, variable definitions, and all blocks. You can import an exported file into another Maskifi account or share it with teammates.
Next: Block reference — what each block type does and what parameters it accepts.