Groups
Groups are named containers you can use to organize profiles into logical sets — by client, project, region, or any other category you choose. The Groups feature is available on plans that include it; the sidebar item shows a lock icon if your current plan does not.
Opening the Groups view
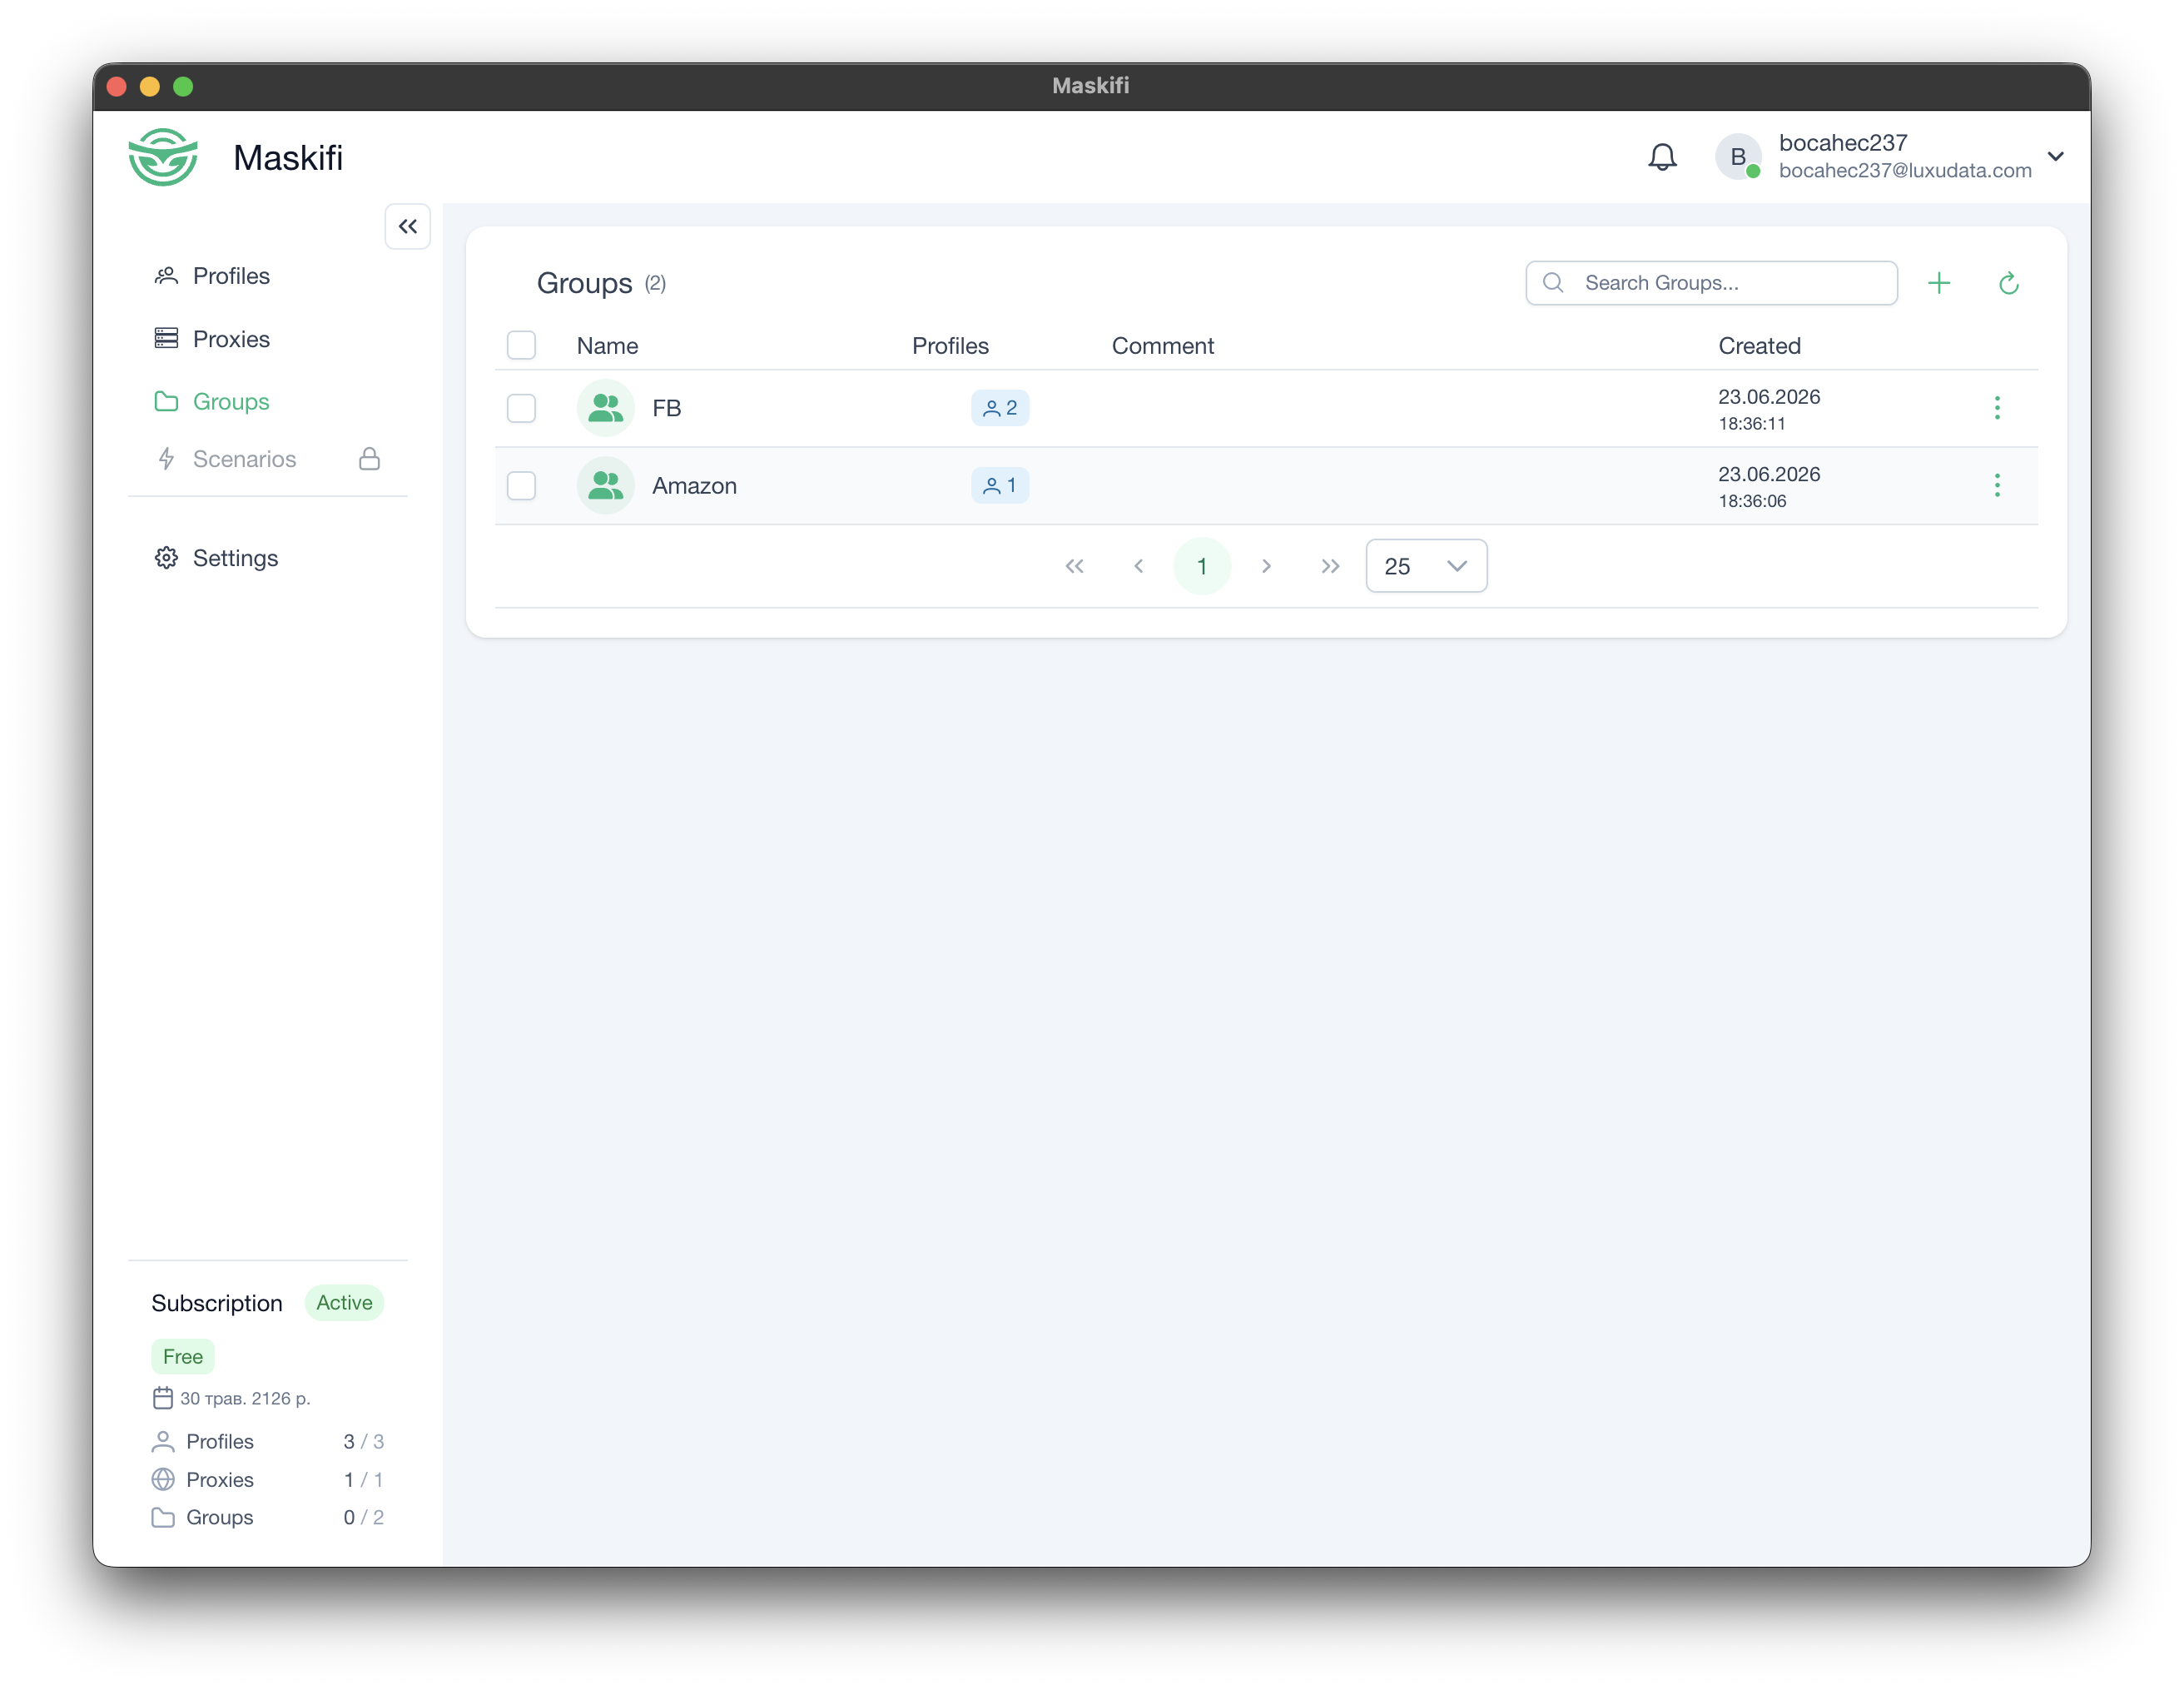
Click Groups in the sidebar. The view shows a paginated table of all existing groups with columns for name, number of profiles assigned, an optional comment, and creation date.
Creating a group
- Click the + button in the top-right toolbar of the Groups view.
- Fill in the form:
- Name (required, up to 64 characters) — the label shown in dropdowns and the table.
- Comment (optional, up to 256 characters) — a free-text note visible in the table.
- Click Save (or press Enter in the form).
The new group appears in the table immediately.
If your plan's group limit is reached, clicking + shows an upgrade prompt instead of opening the form.
Editing a group
- Locate the group in the table.
- Click the ⋮ (ellipsis) button at the right end of the row.
- Select Edit from the menu.
- Modify the name or comment and click Save.
Deleting a group
Single group
- Click ⋮ on the row.
- Select Delete.
- Confirm the deletion in the dialog.
Deleting a group does not delete the profiles that belonged to it — those profiles simply become unassigned.
Bulk delete
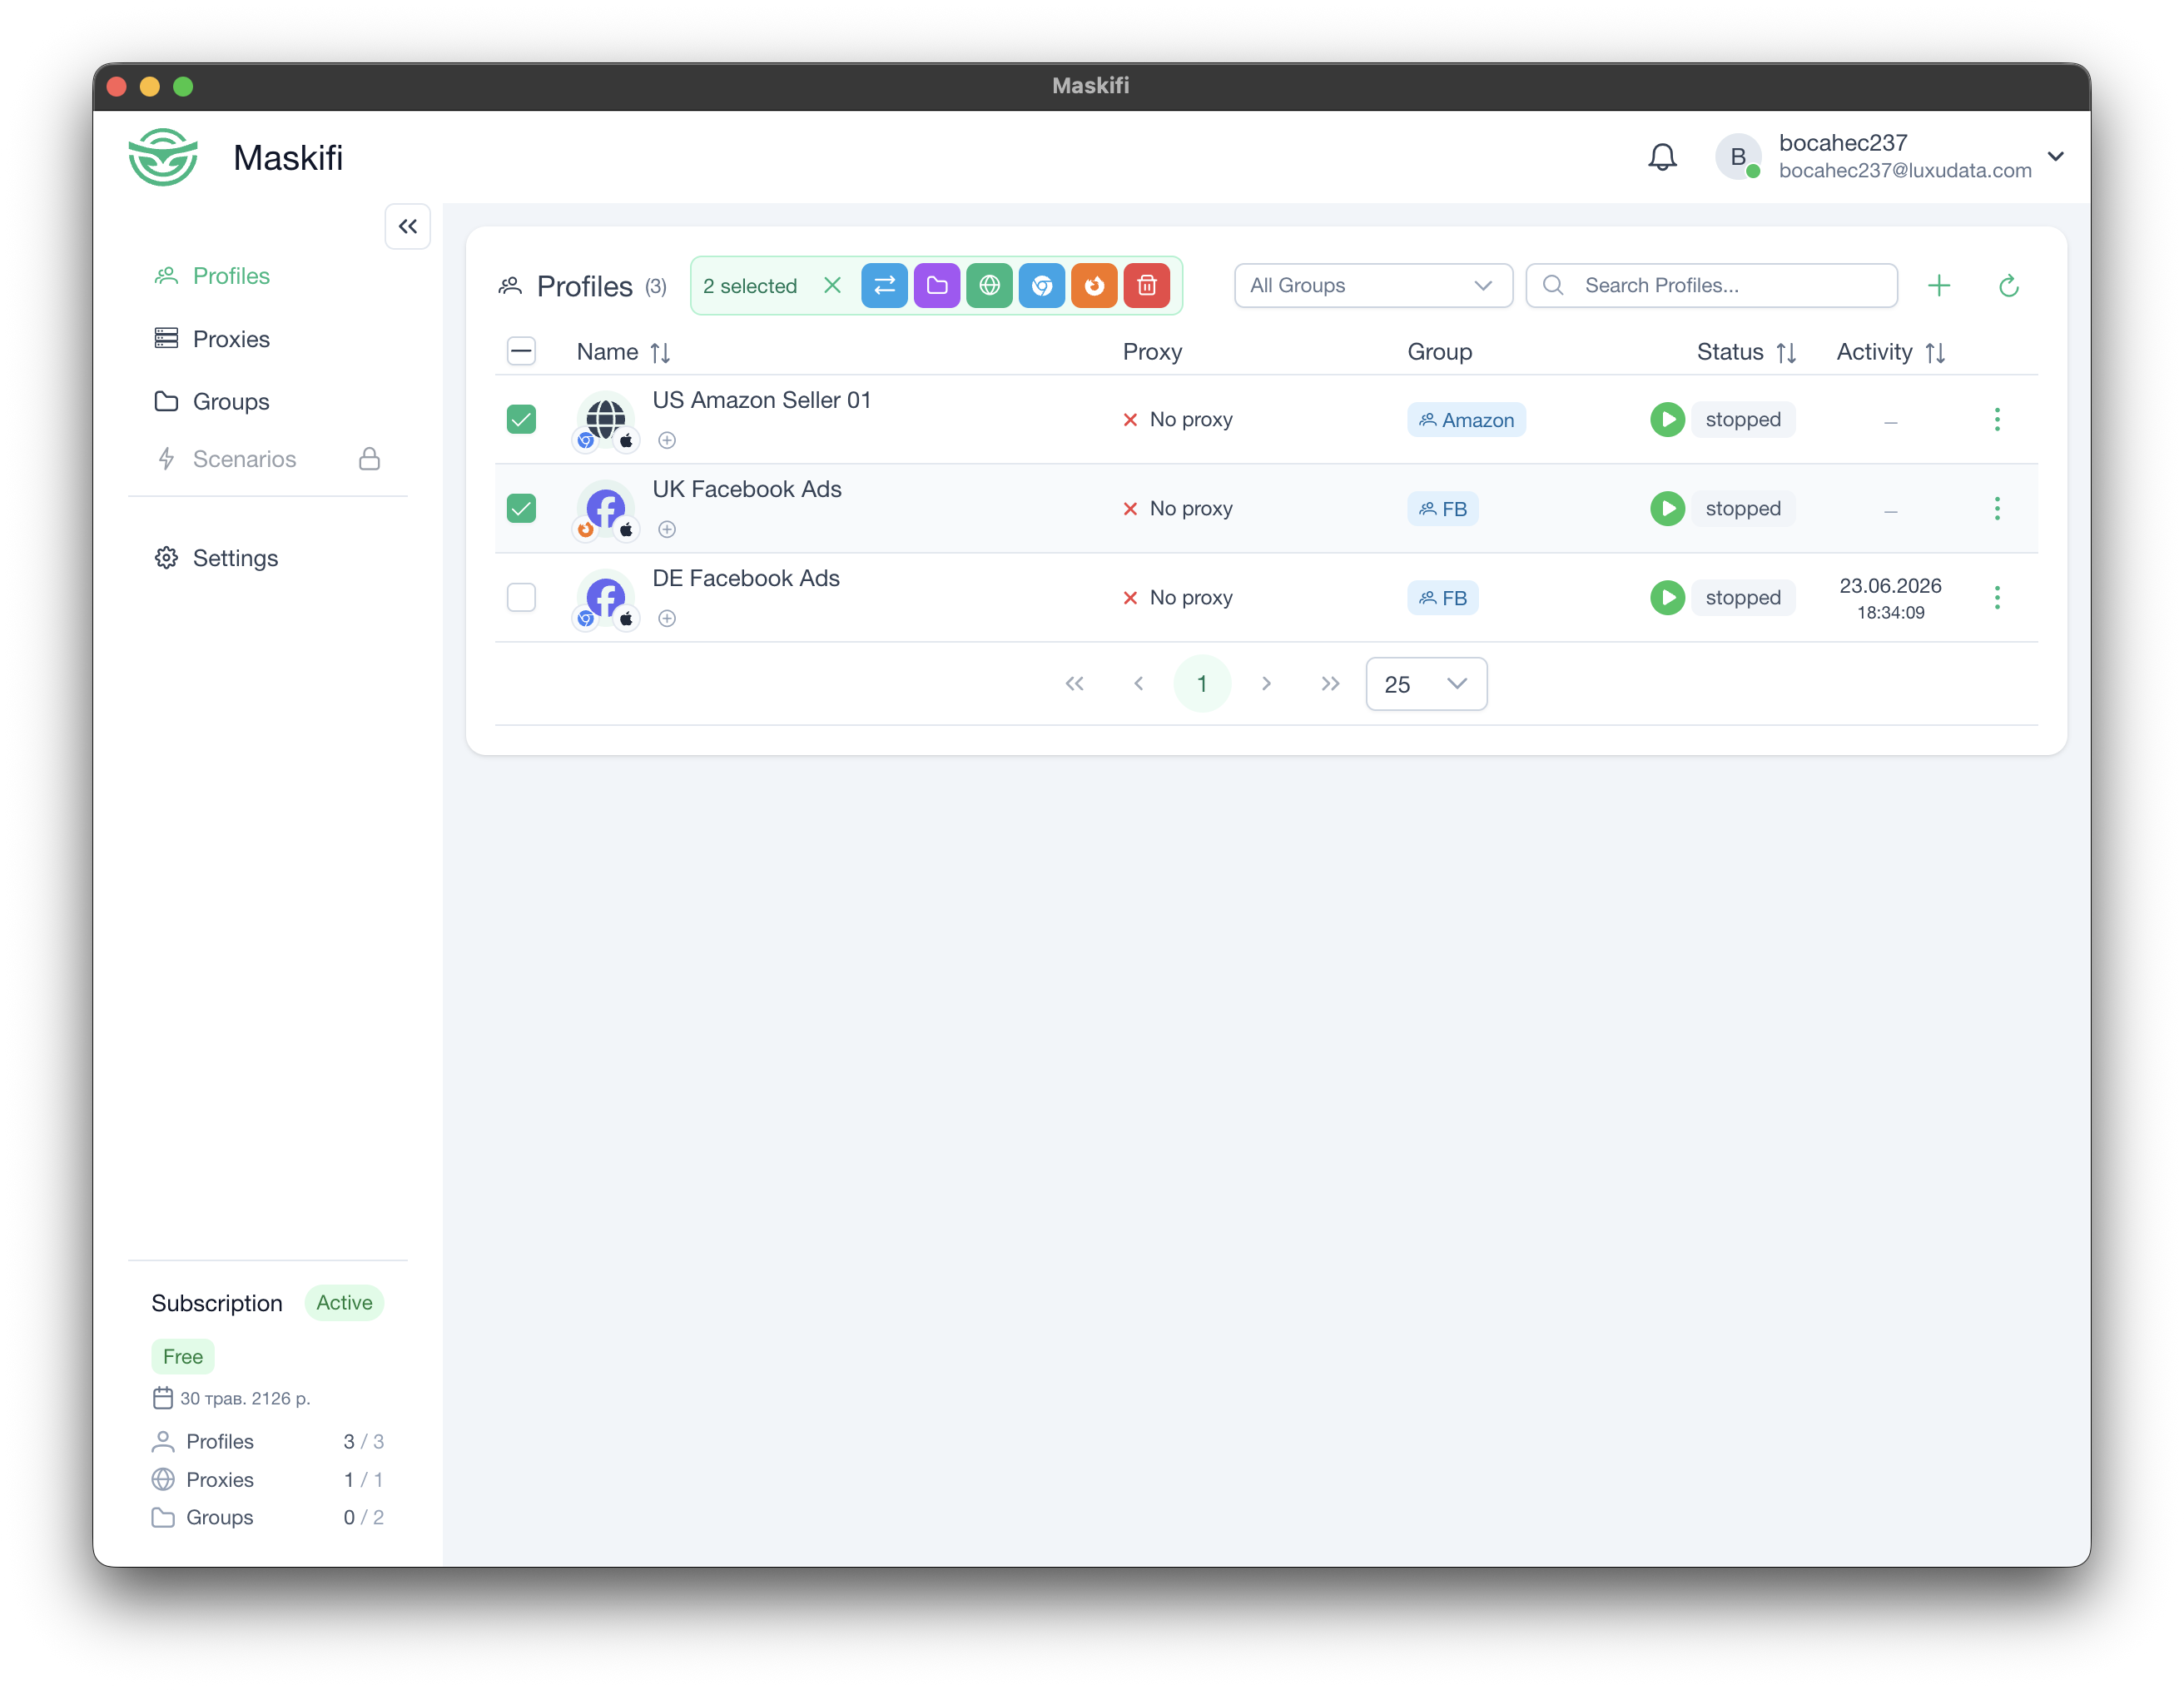
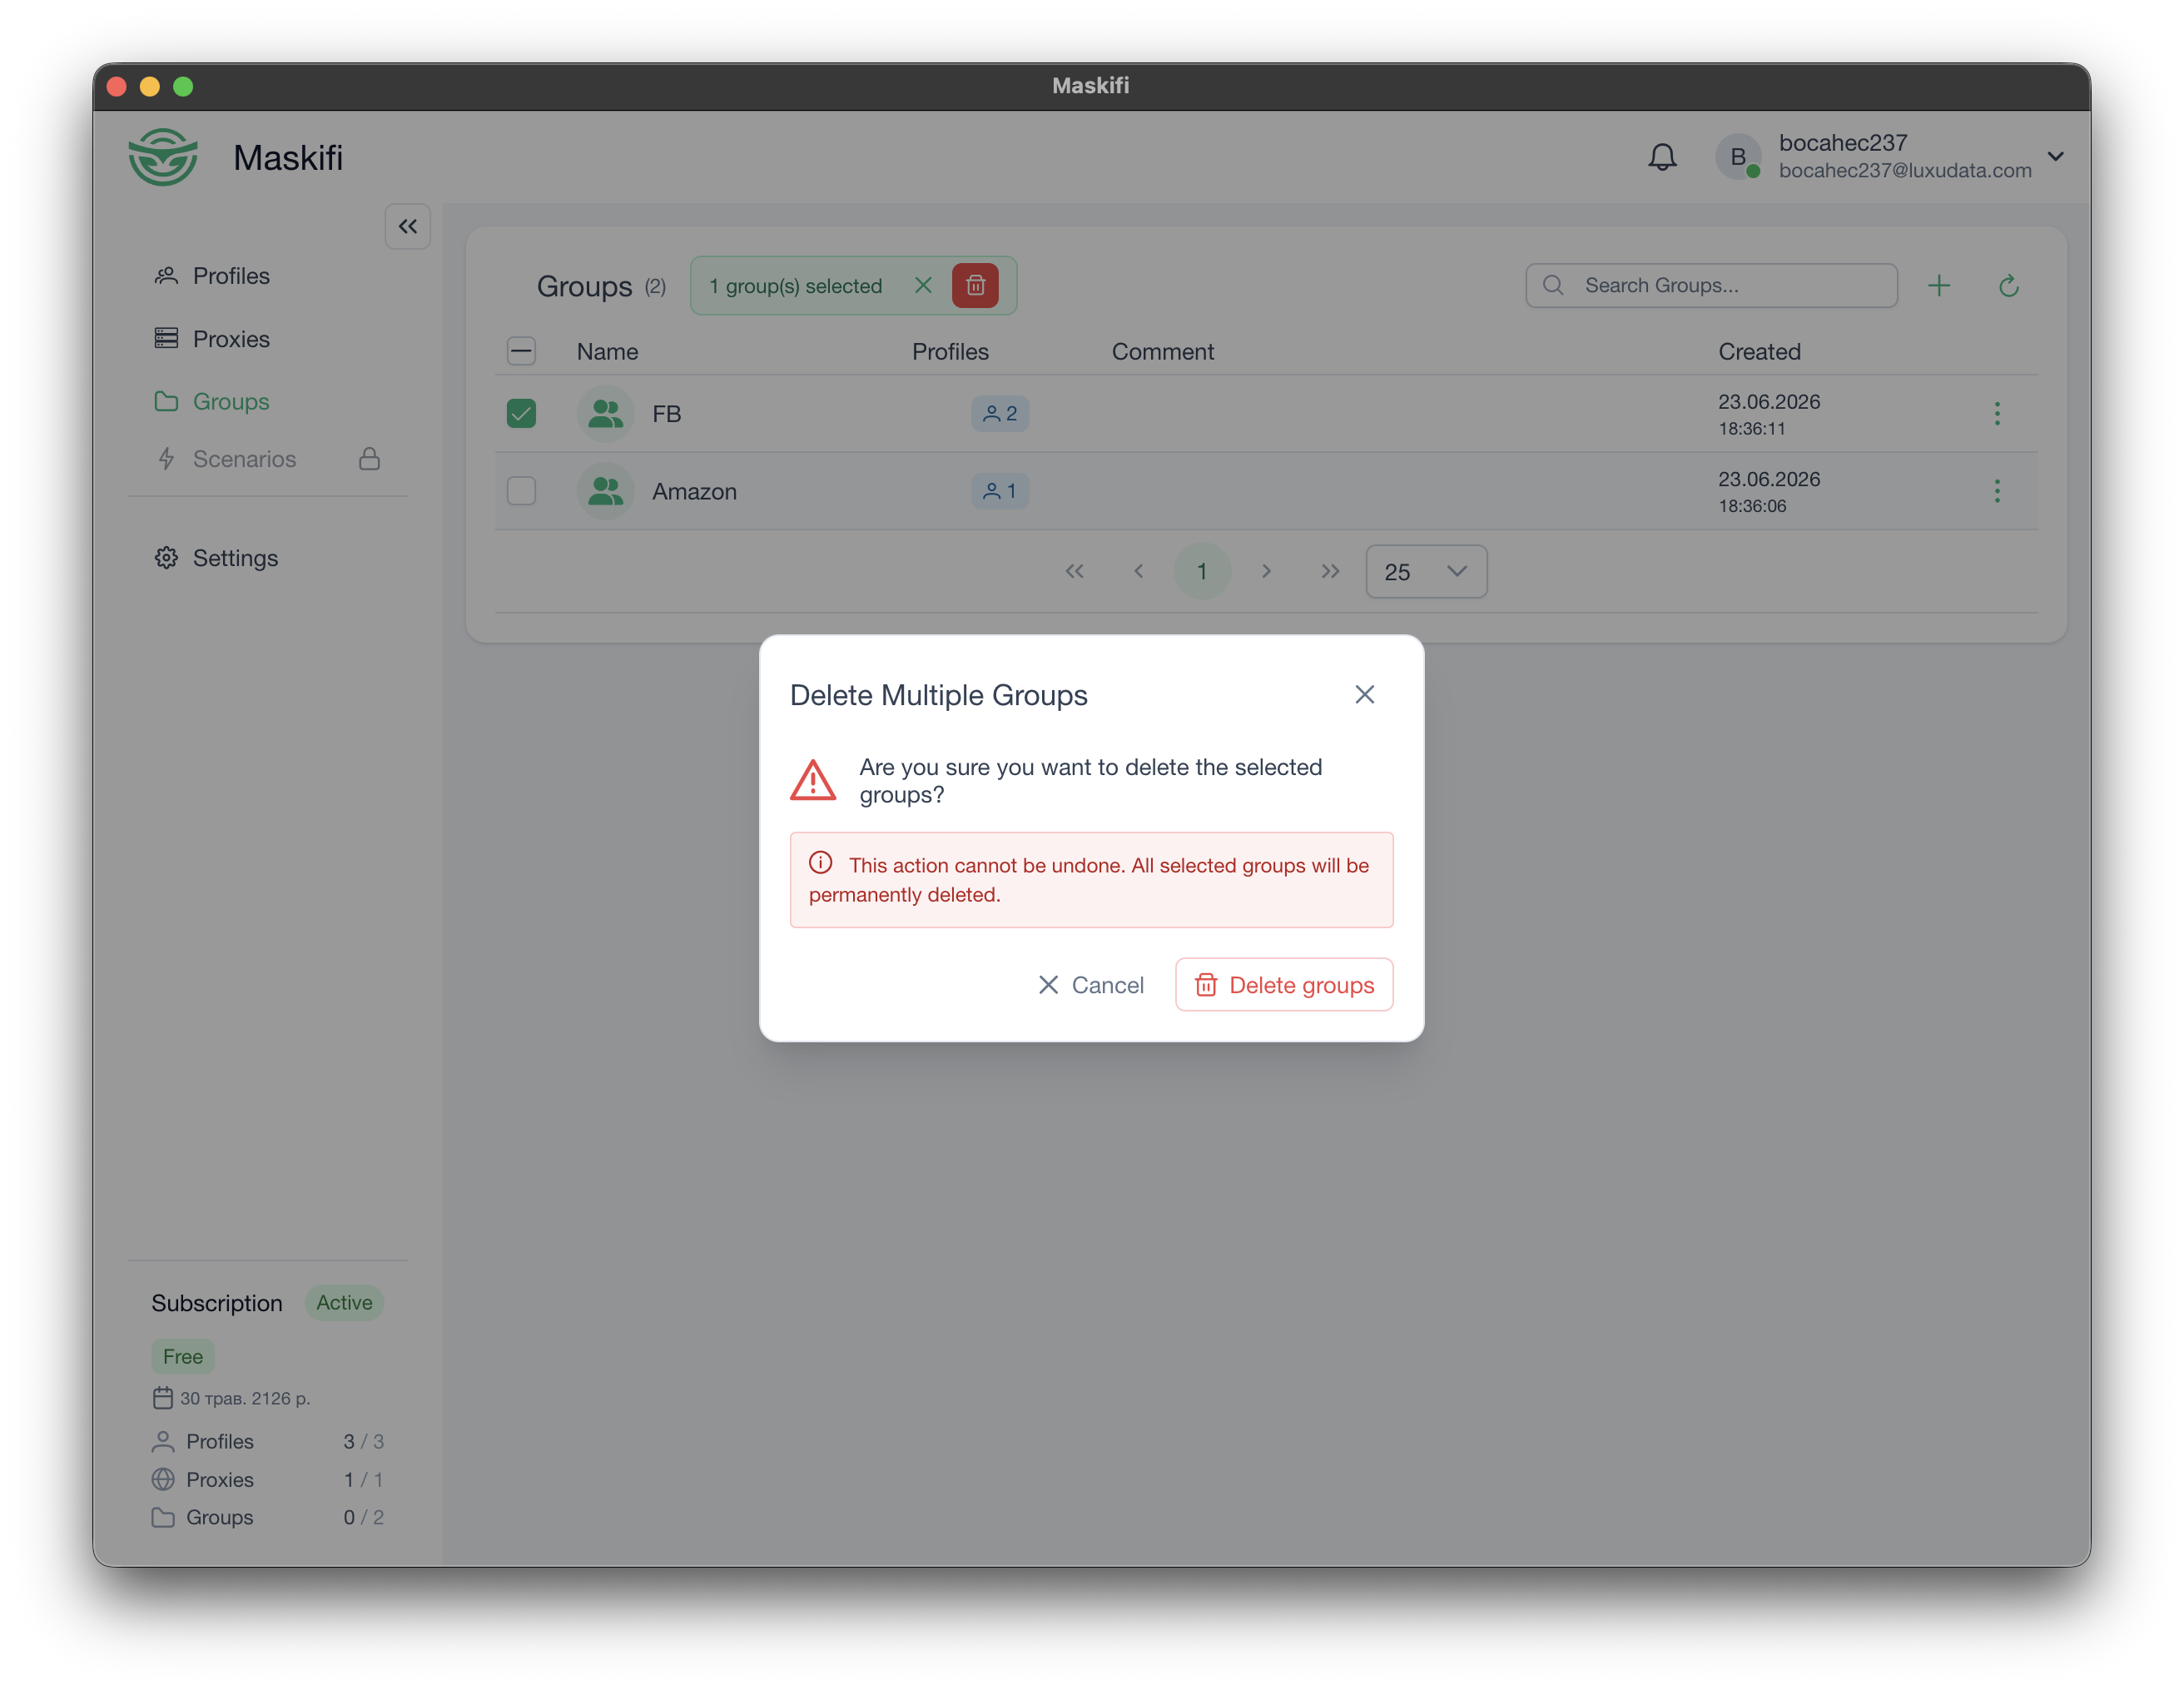
- Check the checkboxes on the rows you want to remove (or use the header checkbox to select all on the current page).
- A bulk-action bar appears at the top of the table showing how many groups are selected.
- Click the Delete (trash) icon in that bar.
- Confirm in the dialog. A warning note in the dialog reminds you that the profiles themselves are not deleted.
Assigning profiles to a group
Profiles are assigned to a group through the profile creation or edit form. Open a profile's edit form, locate the Group field, and pick a group from the dropdown.
Filtering profiles by group
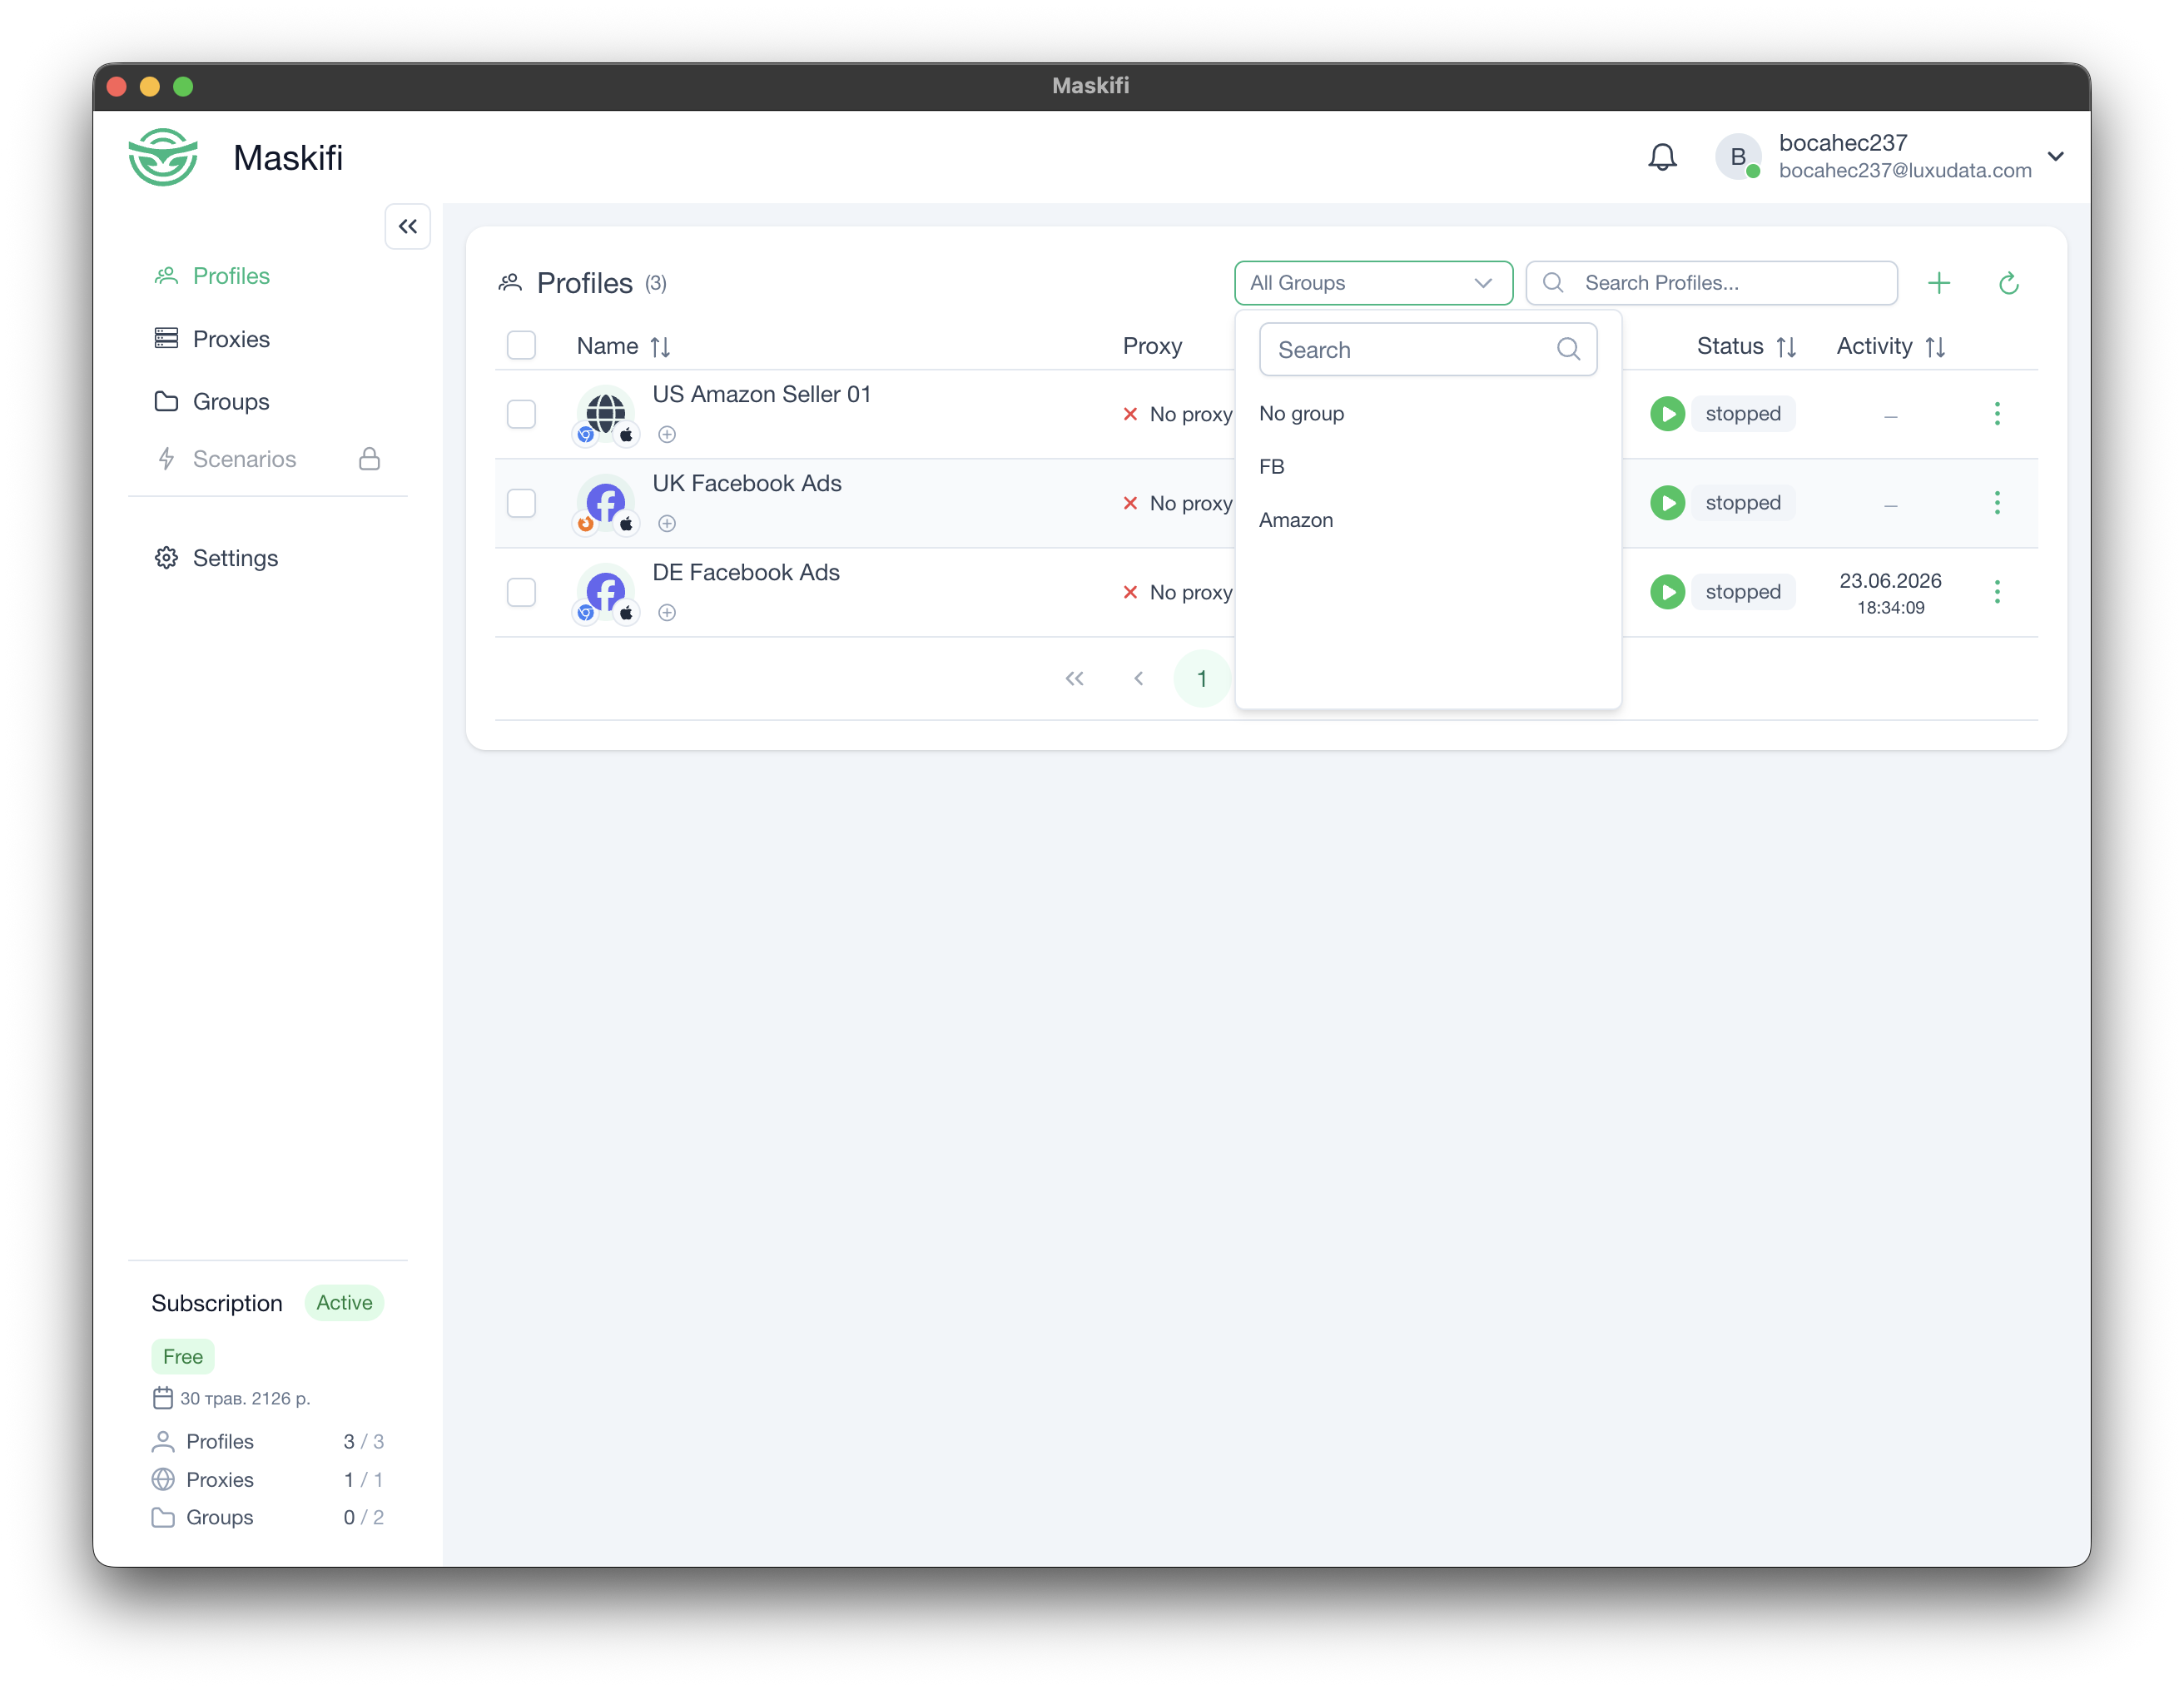
The Profiles view toolbar contains a group filter dropdown (shown only when the Groups feature is active on your plan). Use it to scope the table to a single group:
- Select a group name to show only profiles in that group.
- Select No group to show only profiles that have no group assigned.
- Clear the selection (via the × on the dropdown) to return to showing all profiles.
The group filter selection is saved per-team, so switching to a different team restores that team's last-used filter.
Bulk "Change group" for profiles
When you need to move several profiles to a different group at once:
- Go to the Profiles view.
- Check the checkboxes next to the profiles you want to reassign.
- In the bulk-action bar that appears, click the folder icon (Change group).
- Choose the target group in the dialog and confirm.
All selected profiles move to the chosen group. The selection is cleared after the update completes.