
Members & roles
A Maskifi team lets multiple people share browser profiles and proxies under common encryption. Each member has a role that defines what they can manage, and a set of permissions that can be adjusted individually on top of the role defaults.
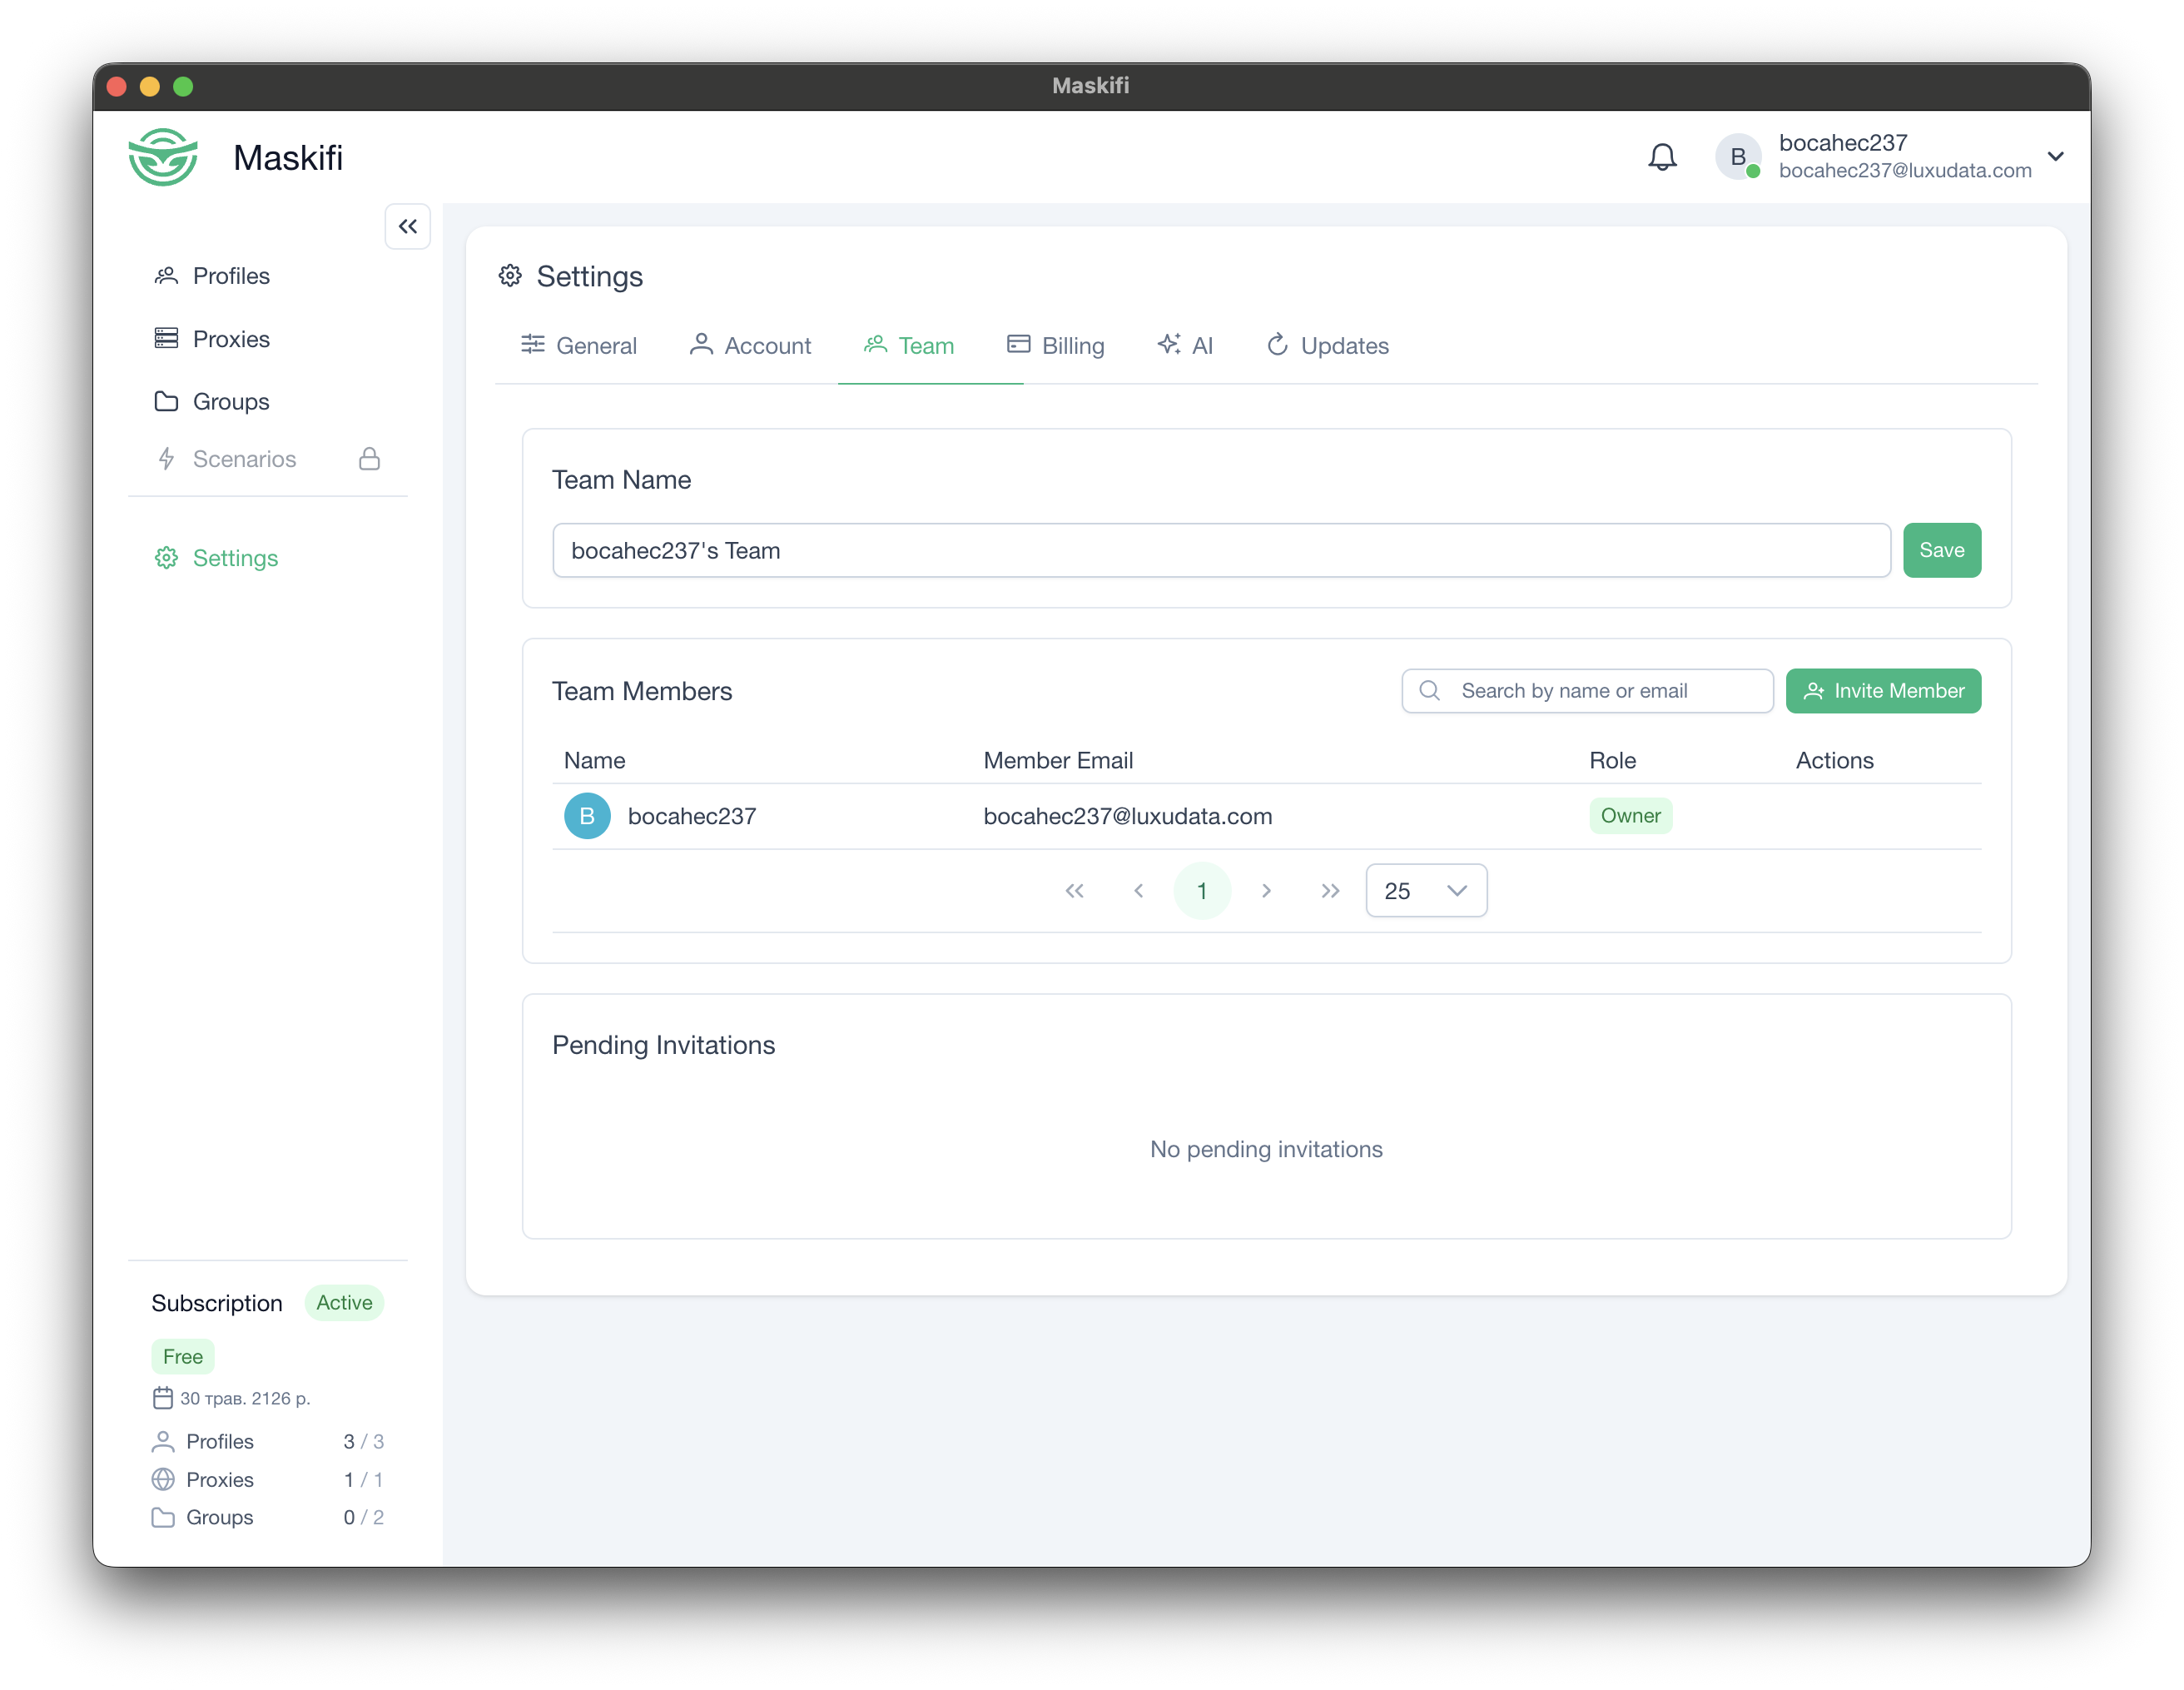
Roles
Maskifi has three roles:
| Role | Assigned by | Description |
|---|---|---|
| Owner | Automatic (team creator) | Full control over the team, billing, members, and encryption. Cannot be reassigned. Only one owner per team. |
| Admin | Owner | Can manage members (invite, edit, remove regular members), manage groups, and has all permissions enabled by default. |
| Member | Owner or Admin | Standard operator. Starts with Launch profiles and Manage proxies enabled; all other permissions are off by default and can be individually toggled. |
The owner cannot be removed or have their role changed by anyone.
Permissions
In addition to the role, each member has a set of independently toggleable permissions. These apply to members with the Member role; admins start with all permissions enabled.
| Permission | What it allows |
|---|---|
| Launch profiles | Open browser profiles in the current team |
| Create profiles | Add new profiles to the team |
| Edit profiles | Modify fingerprint, proxy, and other profile settings |
| Delete profiles | Permanently remove profiles |
| Transfer profiles | Initiate a profile transfer to another user |
| Manage proxies | Add, edit, and remove proxies |
| Manage scenarios | Create and modify automation scenarios |
| Invite members | Send team invitations |
Admins can edit any member's permissions except the owner's. Owners can edit all members including admins.
Members cannot see each other's email addresses — only owners and admins have that visibility.
Group access
In addition to permissions, each member can be restricted to specific groups of profiles. By default a new member has no group access until it is granted explicitly (or "All groups" is selected). "All groups" at the moment of assignment is a snapshot — groups added later are not automatically included.
Inviting members
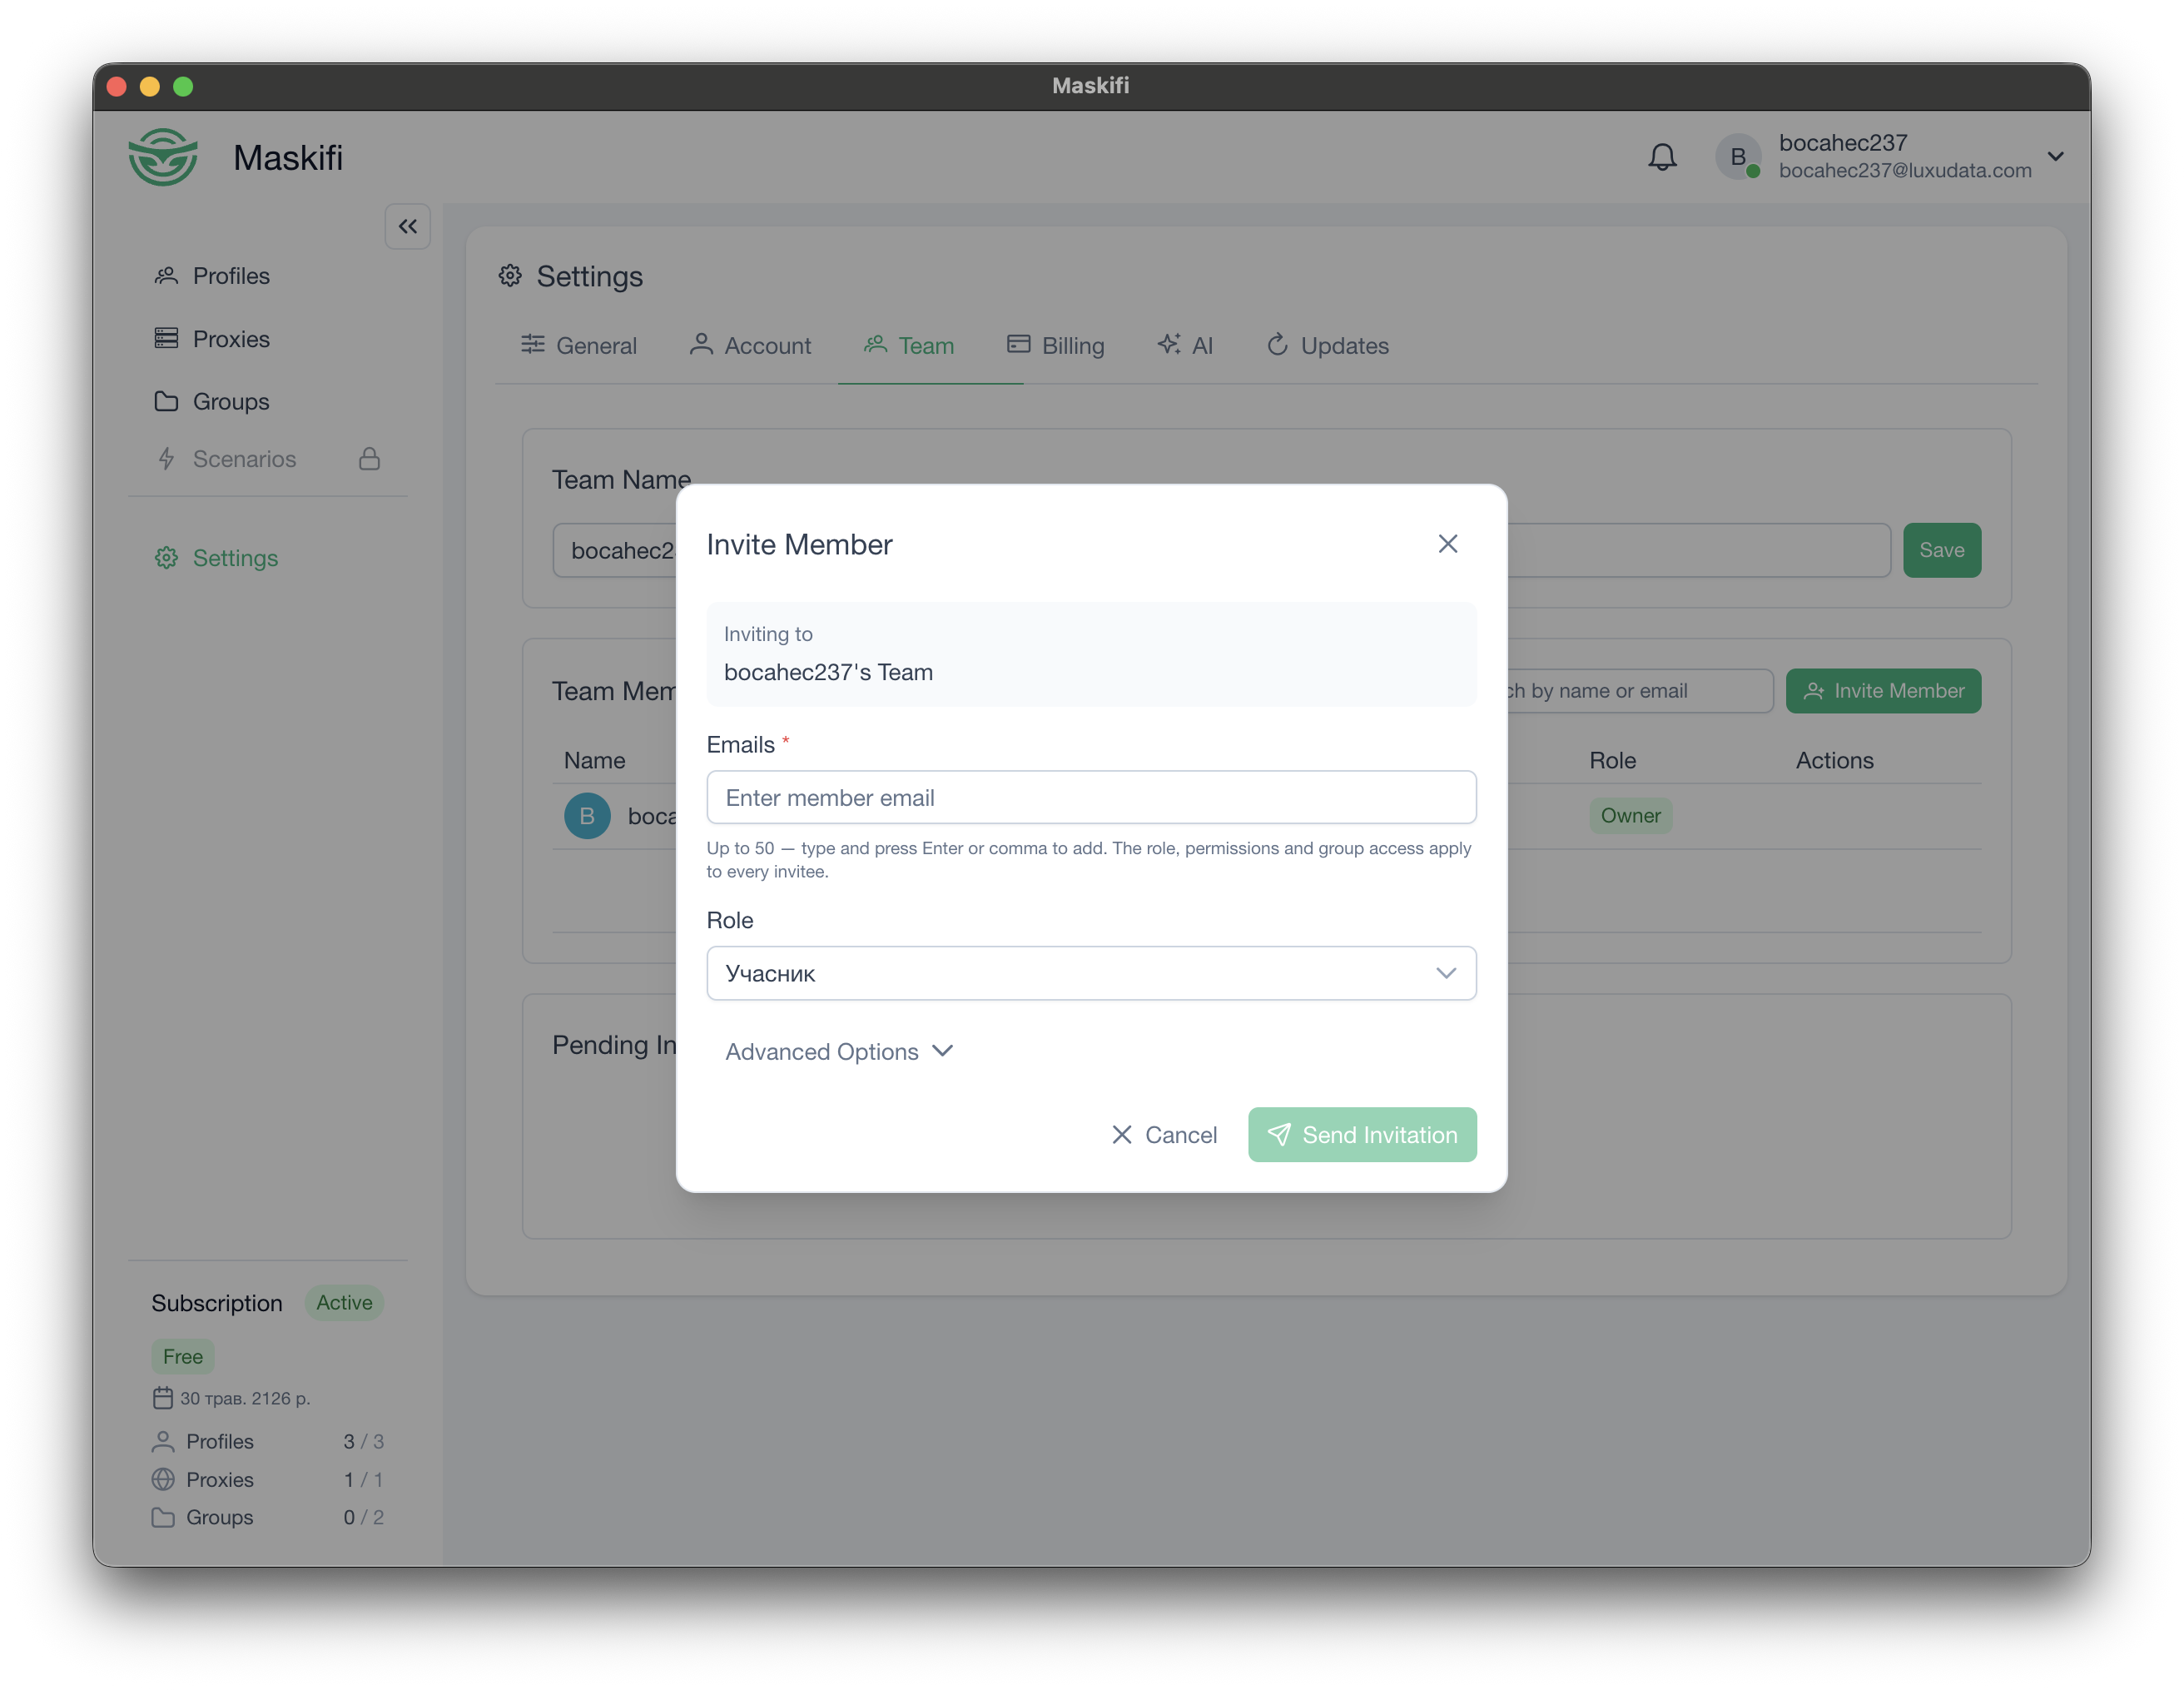
Only members with the Invite members permission (or owner/admin) can send invitations.
- Go to Settings → Team.
- Click Invite member.
- Enter one or more email addresses. You can paste a comma-separated or newline-separated list (up to 50 addresses at once). Press Enter or , after each address to confirm it.
- Select a role (Admin or Member). Defaults to Member.
- Optionally expand Advanced options to:
- Adjust the initial permission set before the invitation is sent.
- Grant access to specific groups or all groups.
- Click Send invitation.
The invitee receives an invitation. Once they accept it, they appear in the team member list.
Encryption note: Team profile access is set up automatically when the invitee accepts. They must have completed encryption setup before they can open team profiles. See Team encryption keys for details.
Editing a member
Owners and admins can change a member's role or individual permissions after they have joined.
- In Settings → Team, find the member row and click the edit icon.
- Change the role or toggle individual permissions.
- Adjust group access if needed.
- Click Save and confirm the dialog.
Changes take effect immediately.
Removing a member
- In Settings → Team, find the member row and click the remove (trash) icon.
- Confirm the removal.
Removing a member revokes their access.
Owner-only fields: tags and notes
The owner can attach internal tags (up to 64) and a note (up to 4096 characters) to each member. These fields are visible only to the owner and are useful for tracking roles or context within large teams.