
Quick start: first profile
This guide walks you through creating your first browser profile and launching it. By the end you will have an isolated browser window running with its own fingerprint.
Prerequisites
- Maskifi is installed and you are signed in.
- Encryption is set up and your recovery phrase is saved.
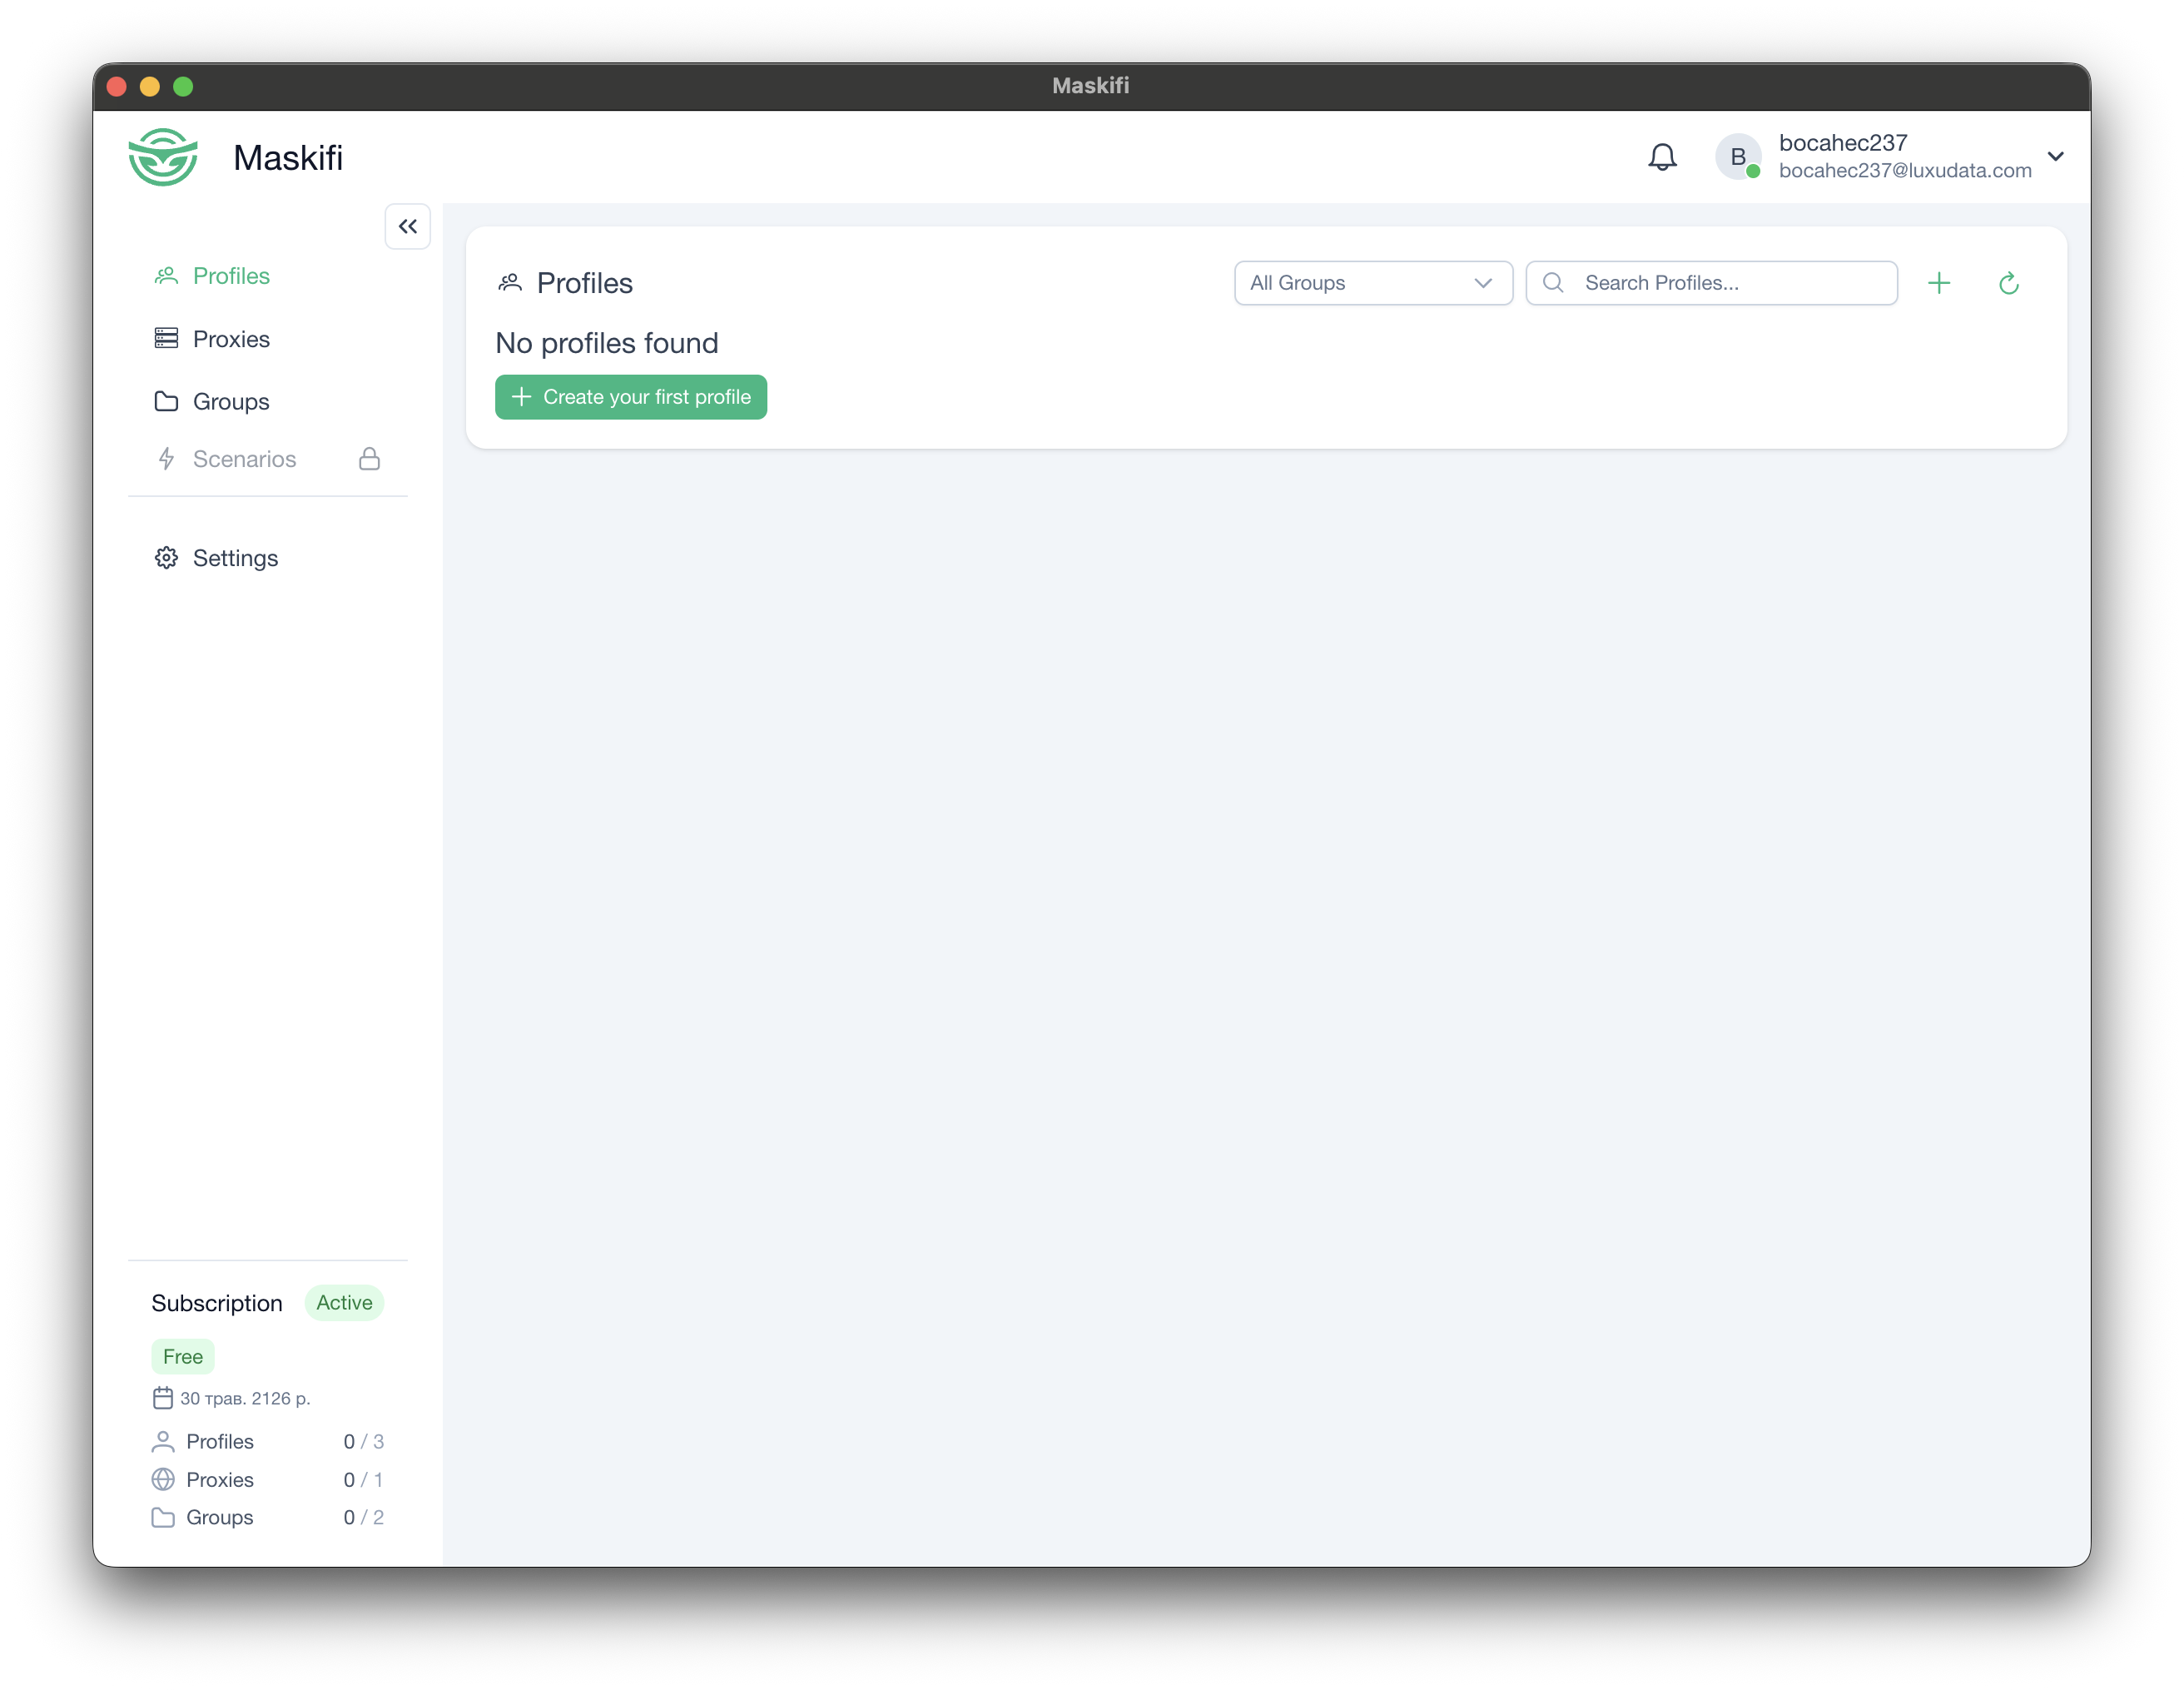
Step 1 — Open the Profiles screen
Click Profiles in the left sidebar. This is the main screen where all your browser profiles are listed and managed.
Step 2 — Create a new profile
- Click the New profile button (top-right area of the Profiles screen).
- The Create profile form opens.
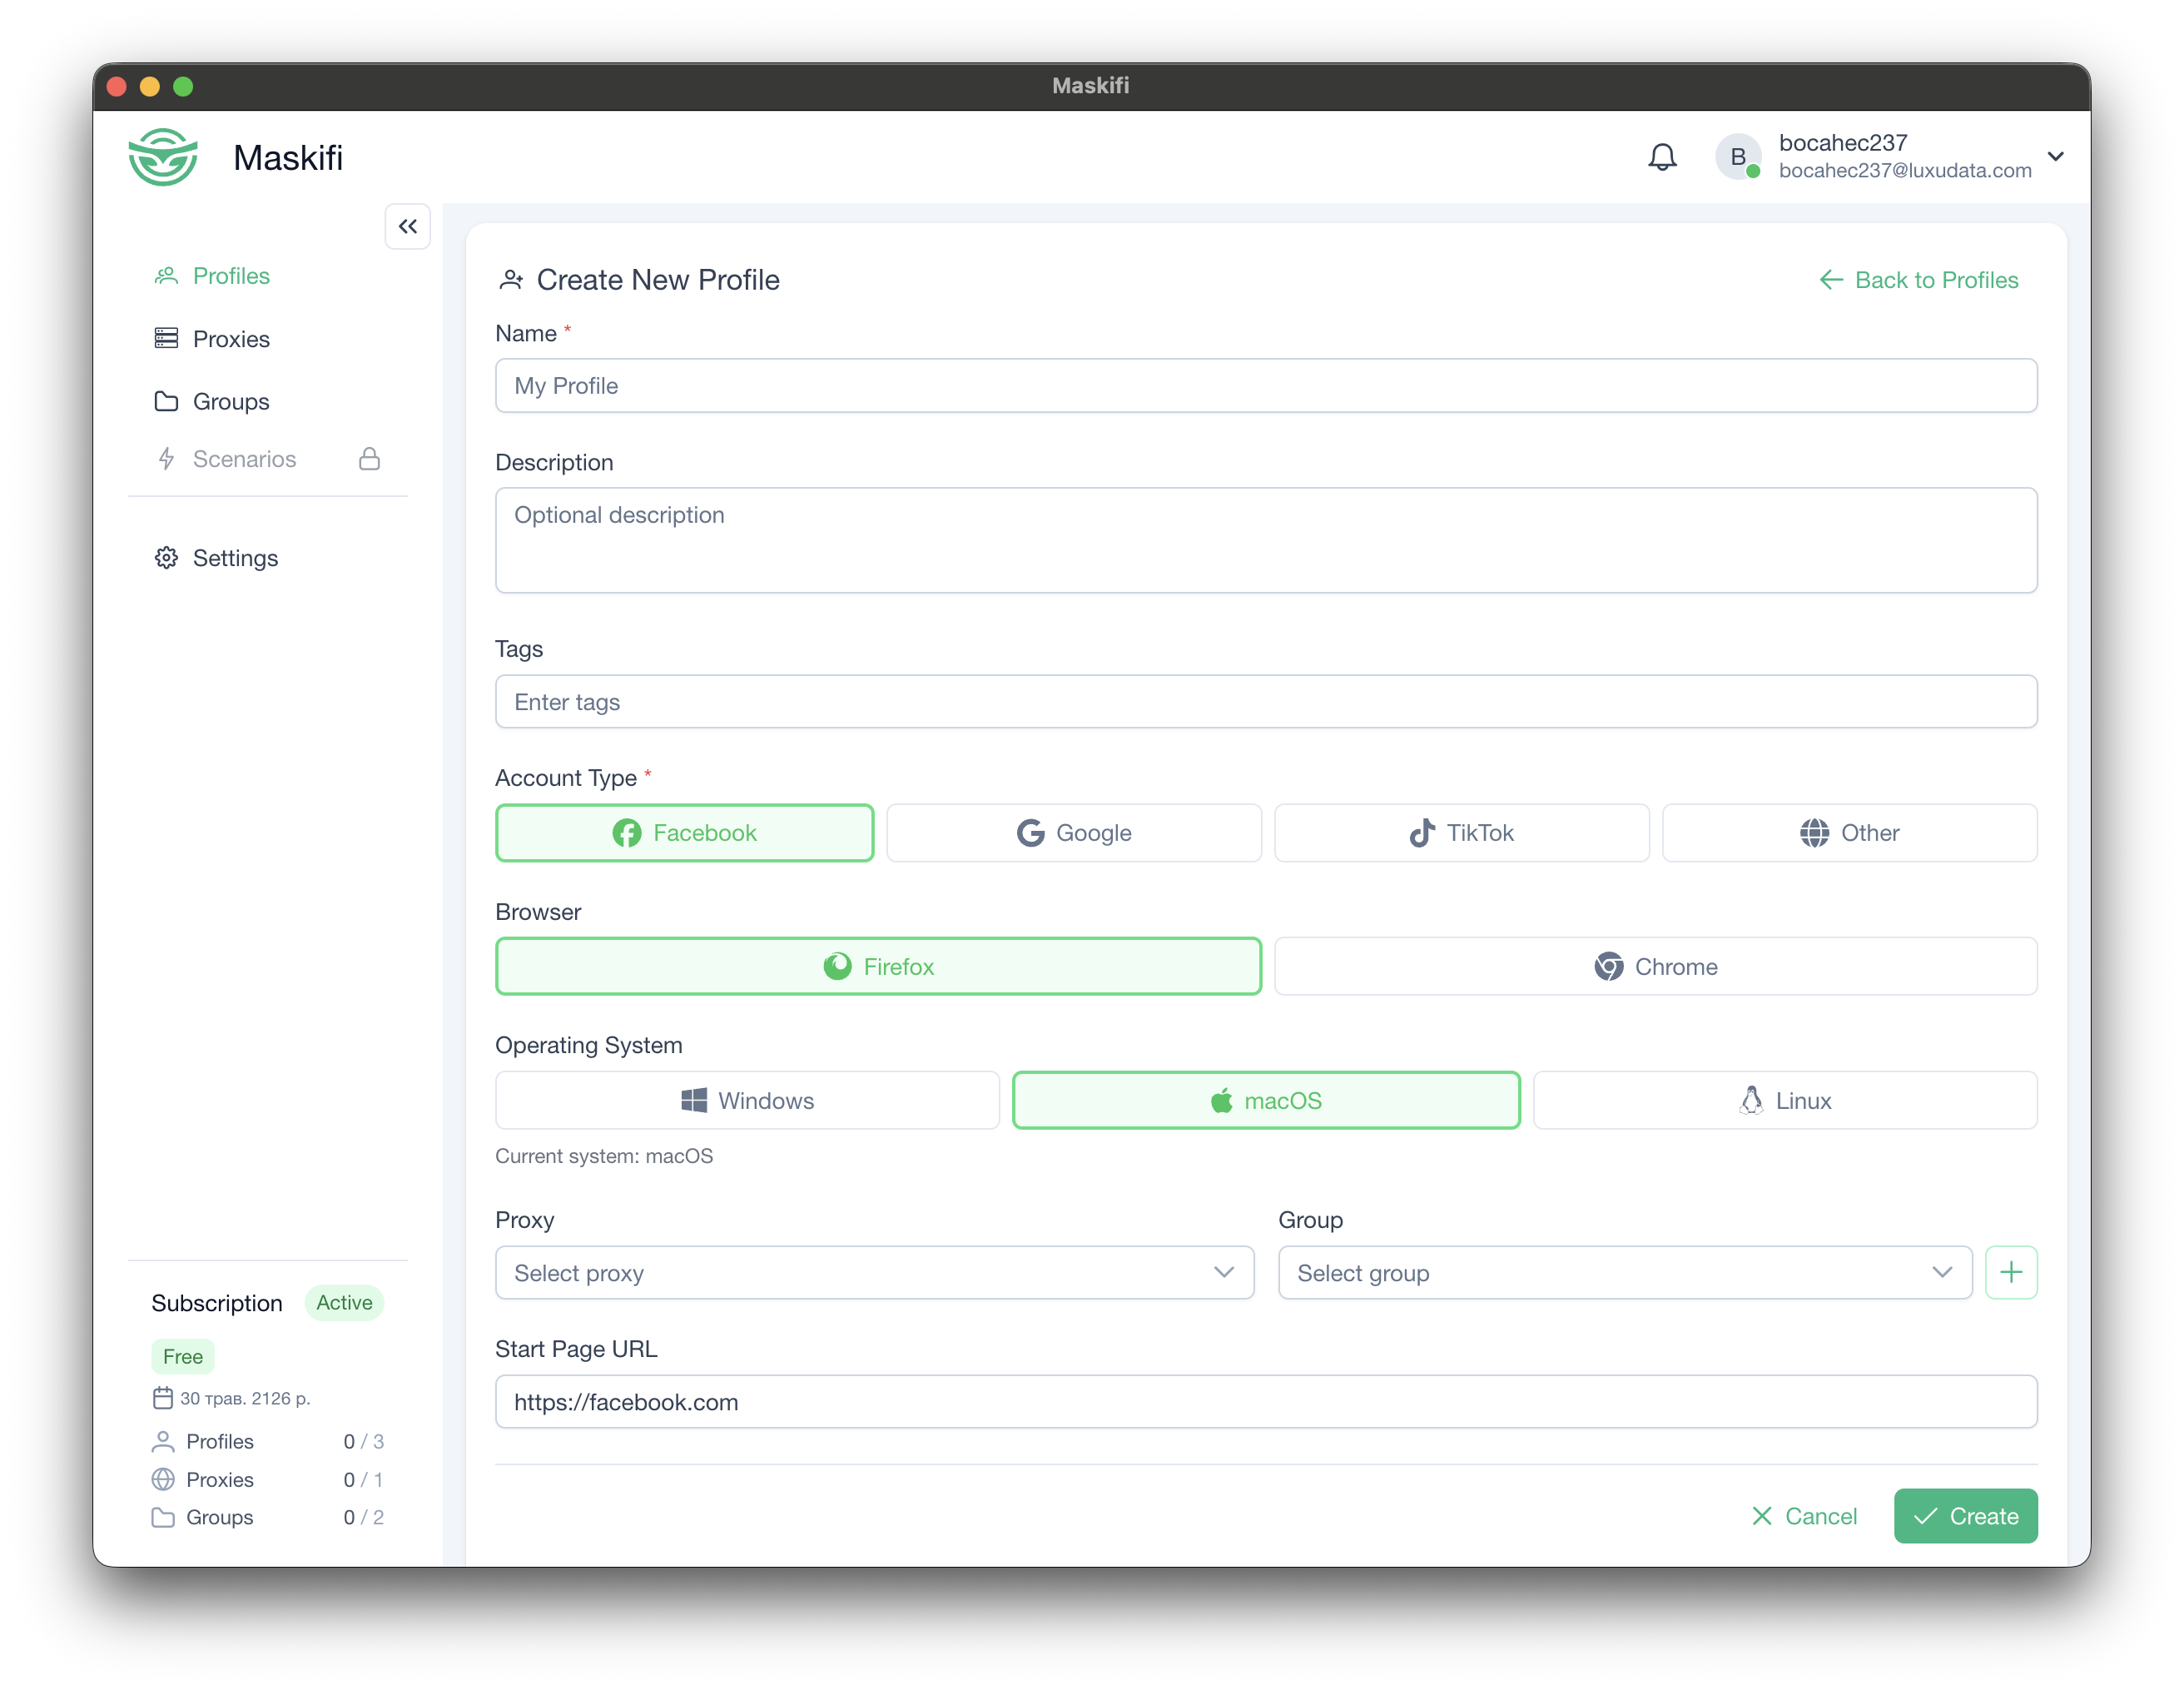
Fill in the basic details
| Field | What to enter |
|---|---|
| Account type | Choose the platform this profile is for: Facebook, Google, TikTok, or Other. This sets a contextually appropriate icon. |
| Name | A name you will recognise, for example My first profile. |
| Comment | Optional free-text note about this profile. |
| Tags | Optional labels to help you filter profiles later. |
| Start URL | Optional. The URL the browser opens to when launched. Leave blank to open a new tab. |
Choose a browser engine
Maskifi supports two browser engines:
- Firefox (default) — Maskifi's own Firefox-based engine (Maskifox) with deep fingerprint customisation.
- Chrome — Chromium-based engine.
Configure a proxy (optional)
You can assign a proxy to this profile now, or skip this step and add one later. See Adding & testing proxies for how to add proxies to your account first.
Fingerprint
By default, Maskifi generates a random fingerprint for each profile. You do not need to change anything here for your first profile — Maskifi picks all the settings automatically.
If you want to customise the fingerprint, click Advanced / Fingerprint to open the fingerprint editor.
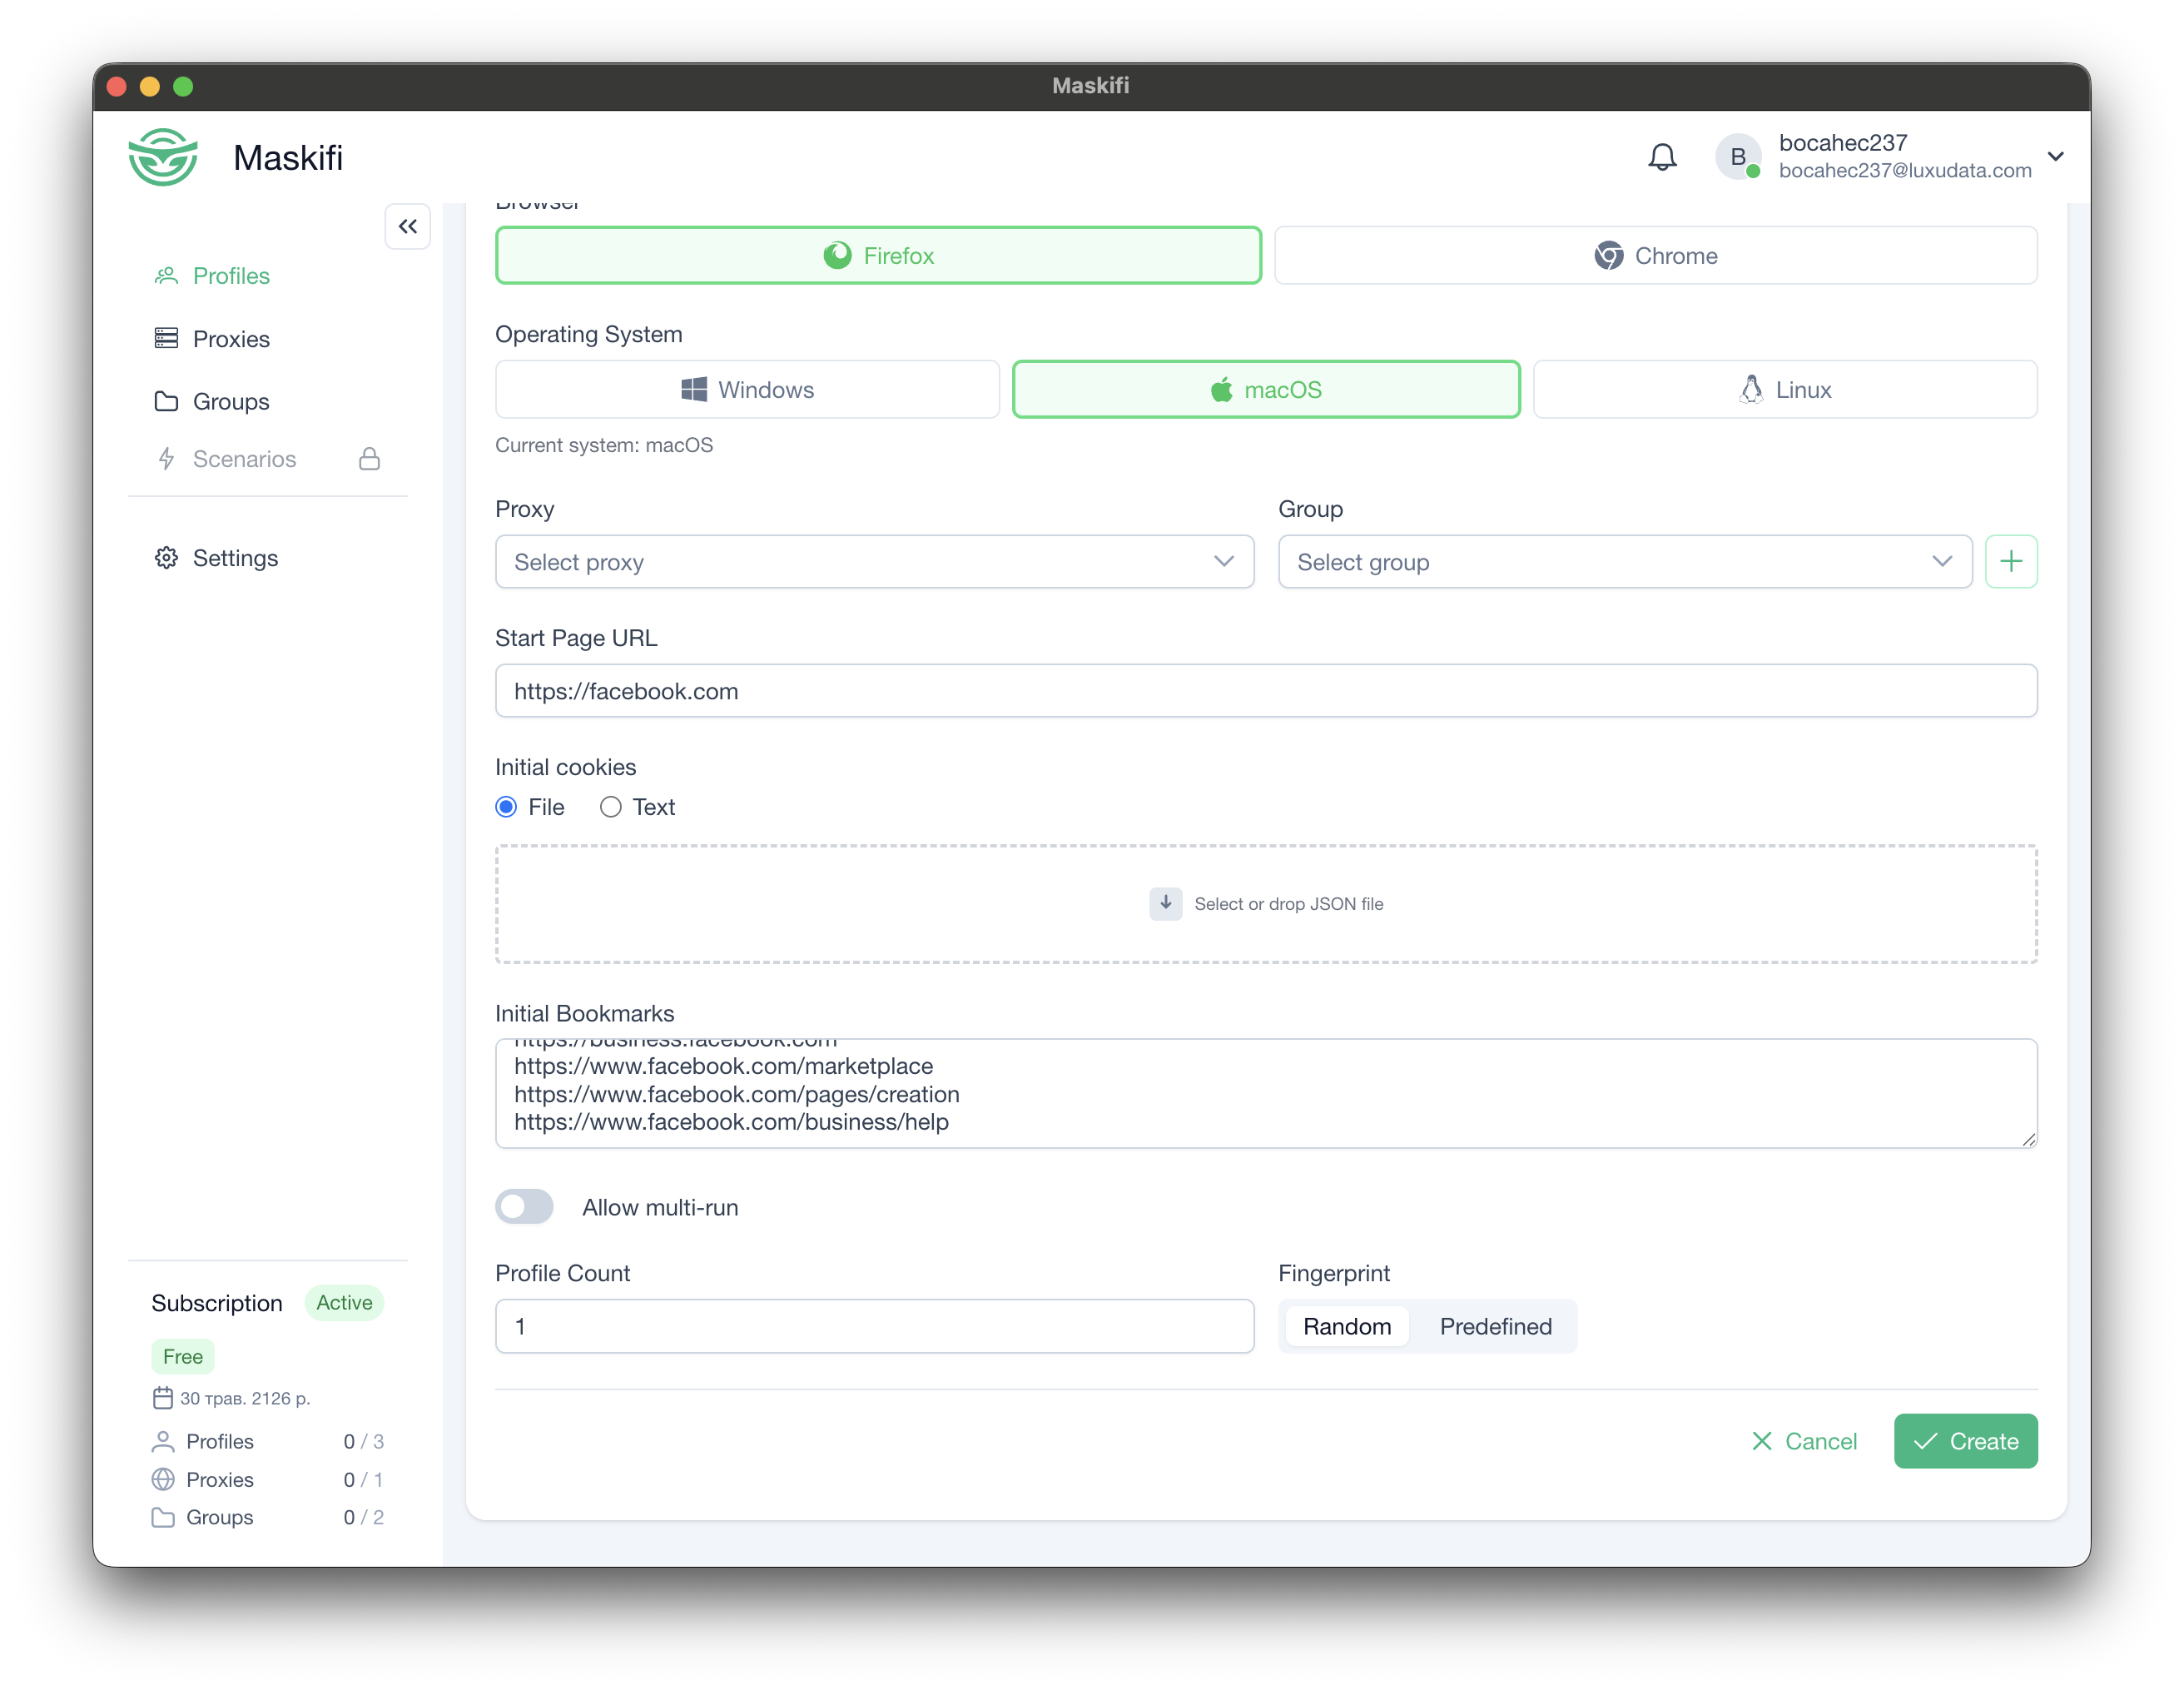
Allow multi-run (optional)
The Allow multi-run toggle lets the same profile run on more than one device simultaneously. Leave it off for your first profile.
Step 3 — Save the profile
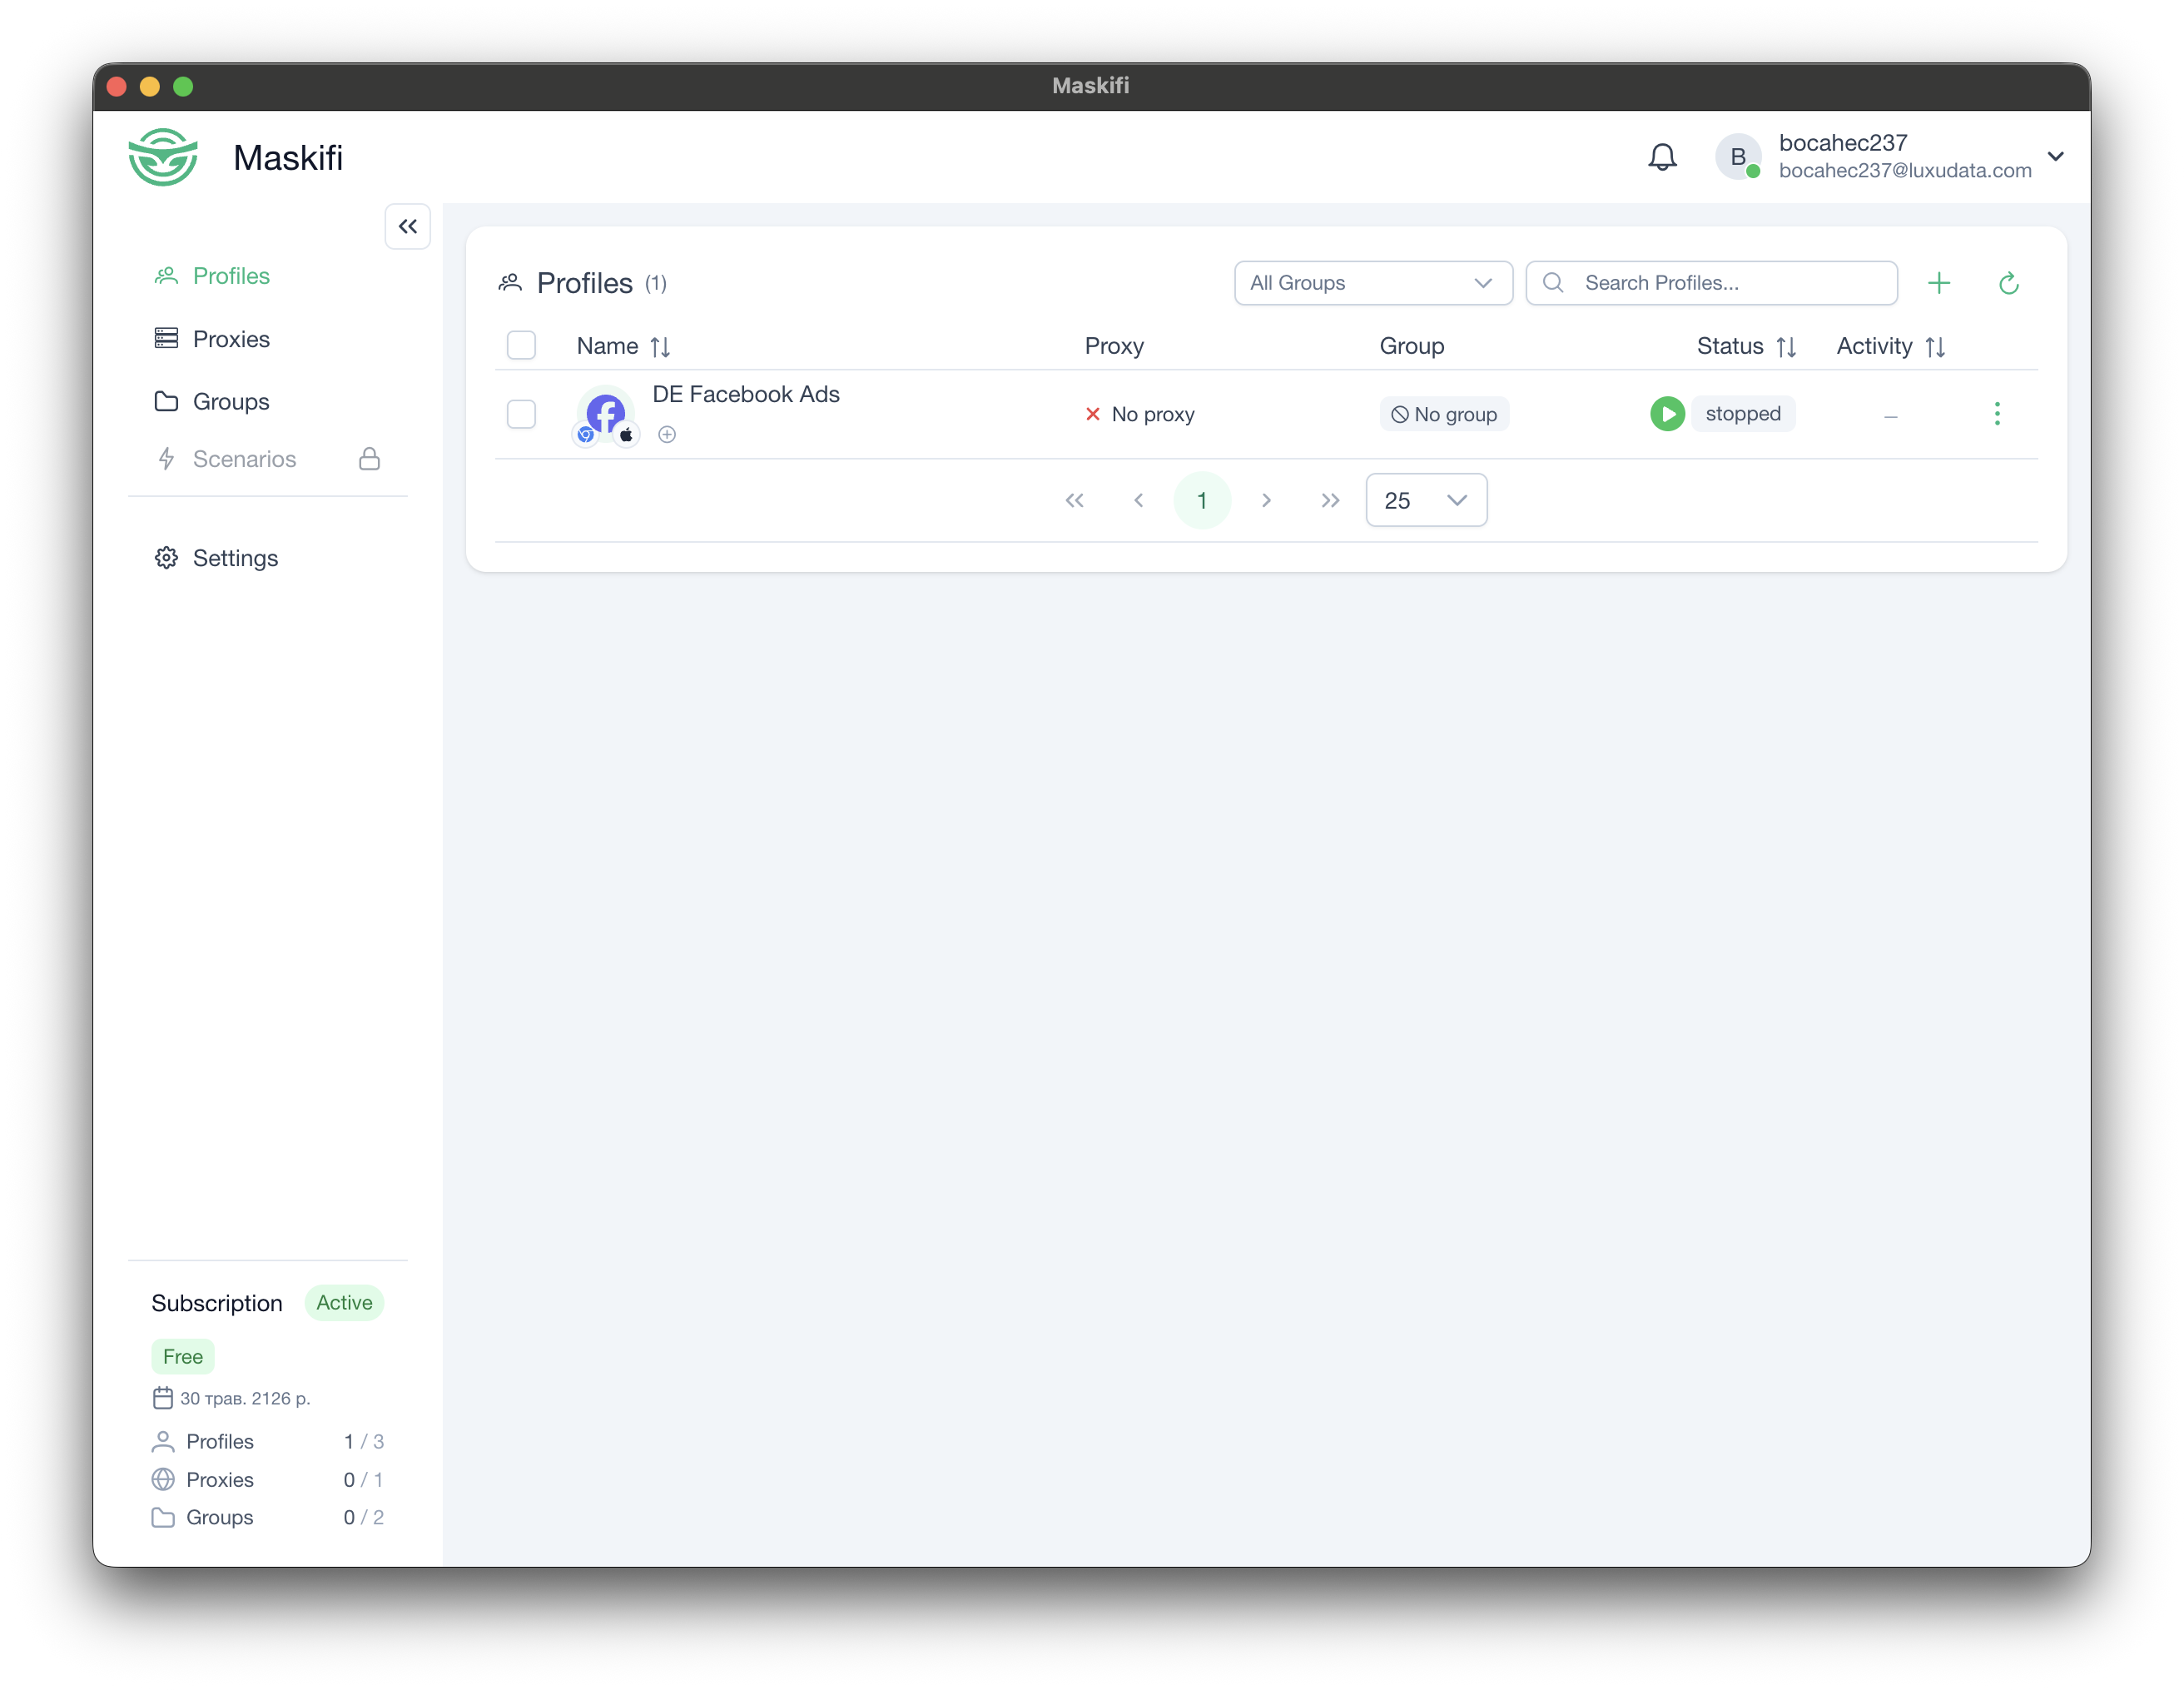
Click Save (or Create) at the bottom of the form. Maskifi creates the profile, encrypts it, and adds it to the Profiles list.
Step 4 — Launch the profile
Find the profile in the list and click the Start button (play icon) on its row.
Maskifi launches the Maskifox browser window for that profile. The profile row shows a Starting status, then changes to Active once the browser is open.
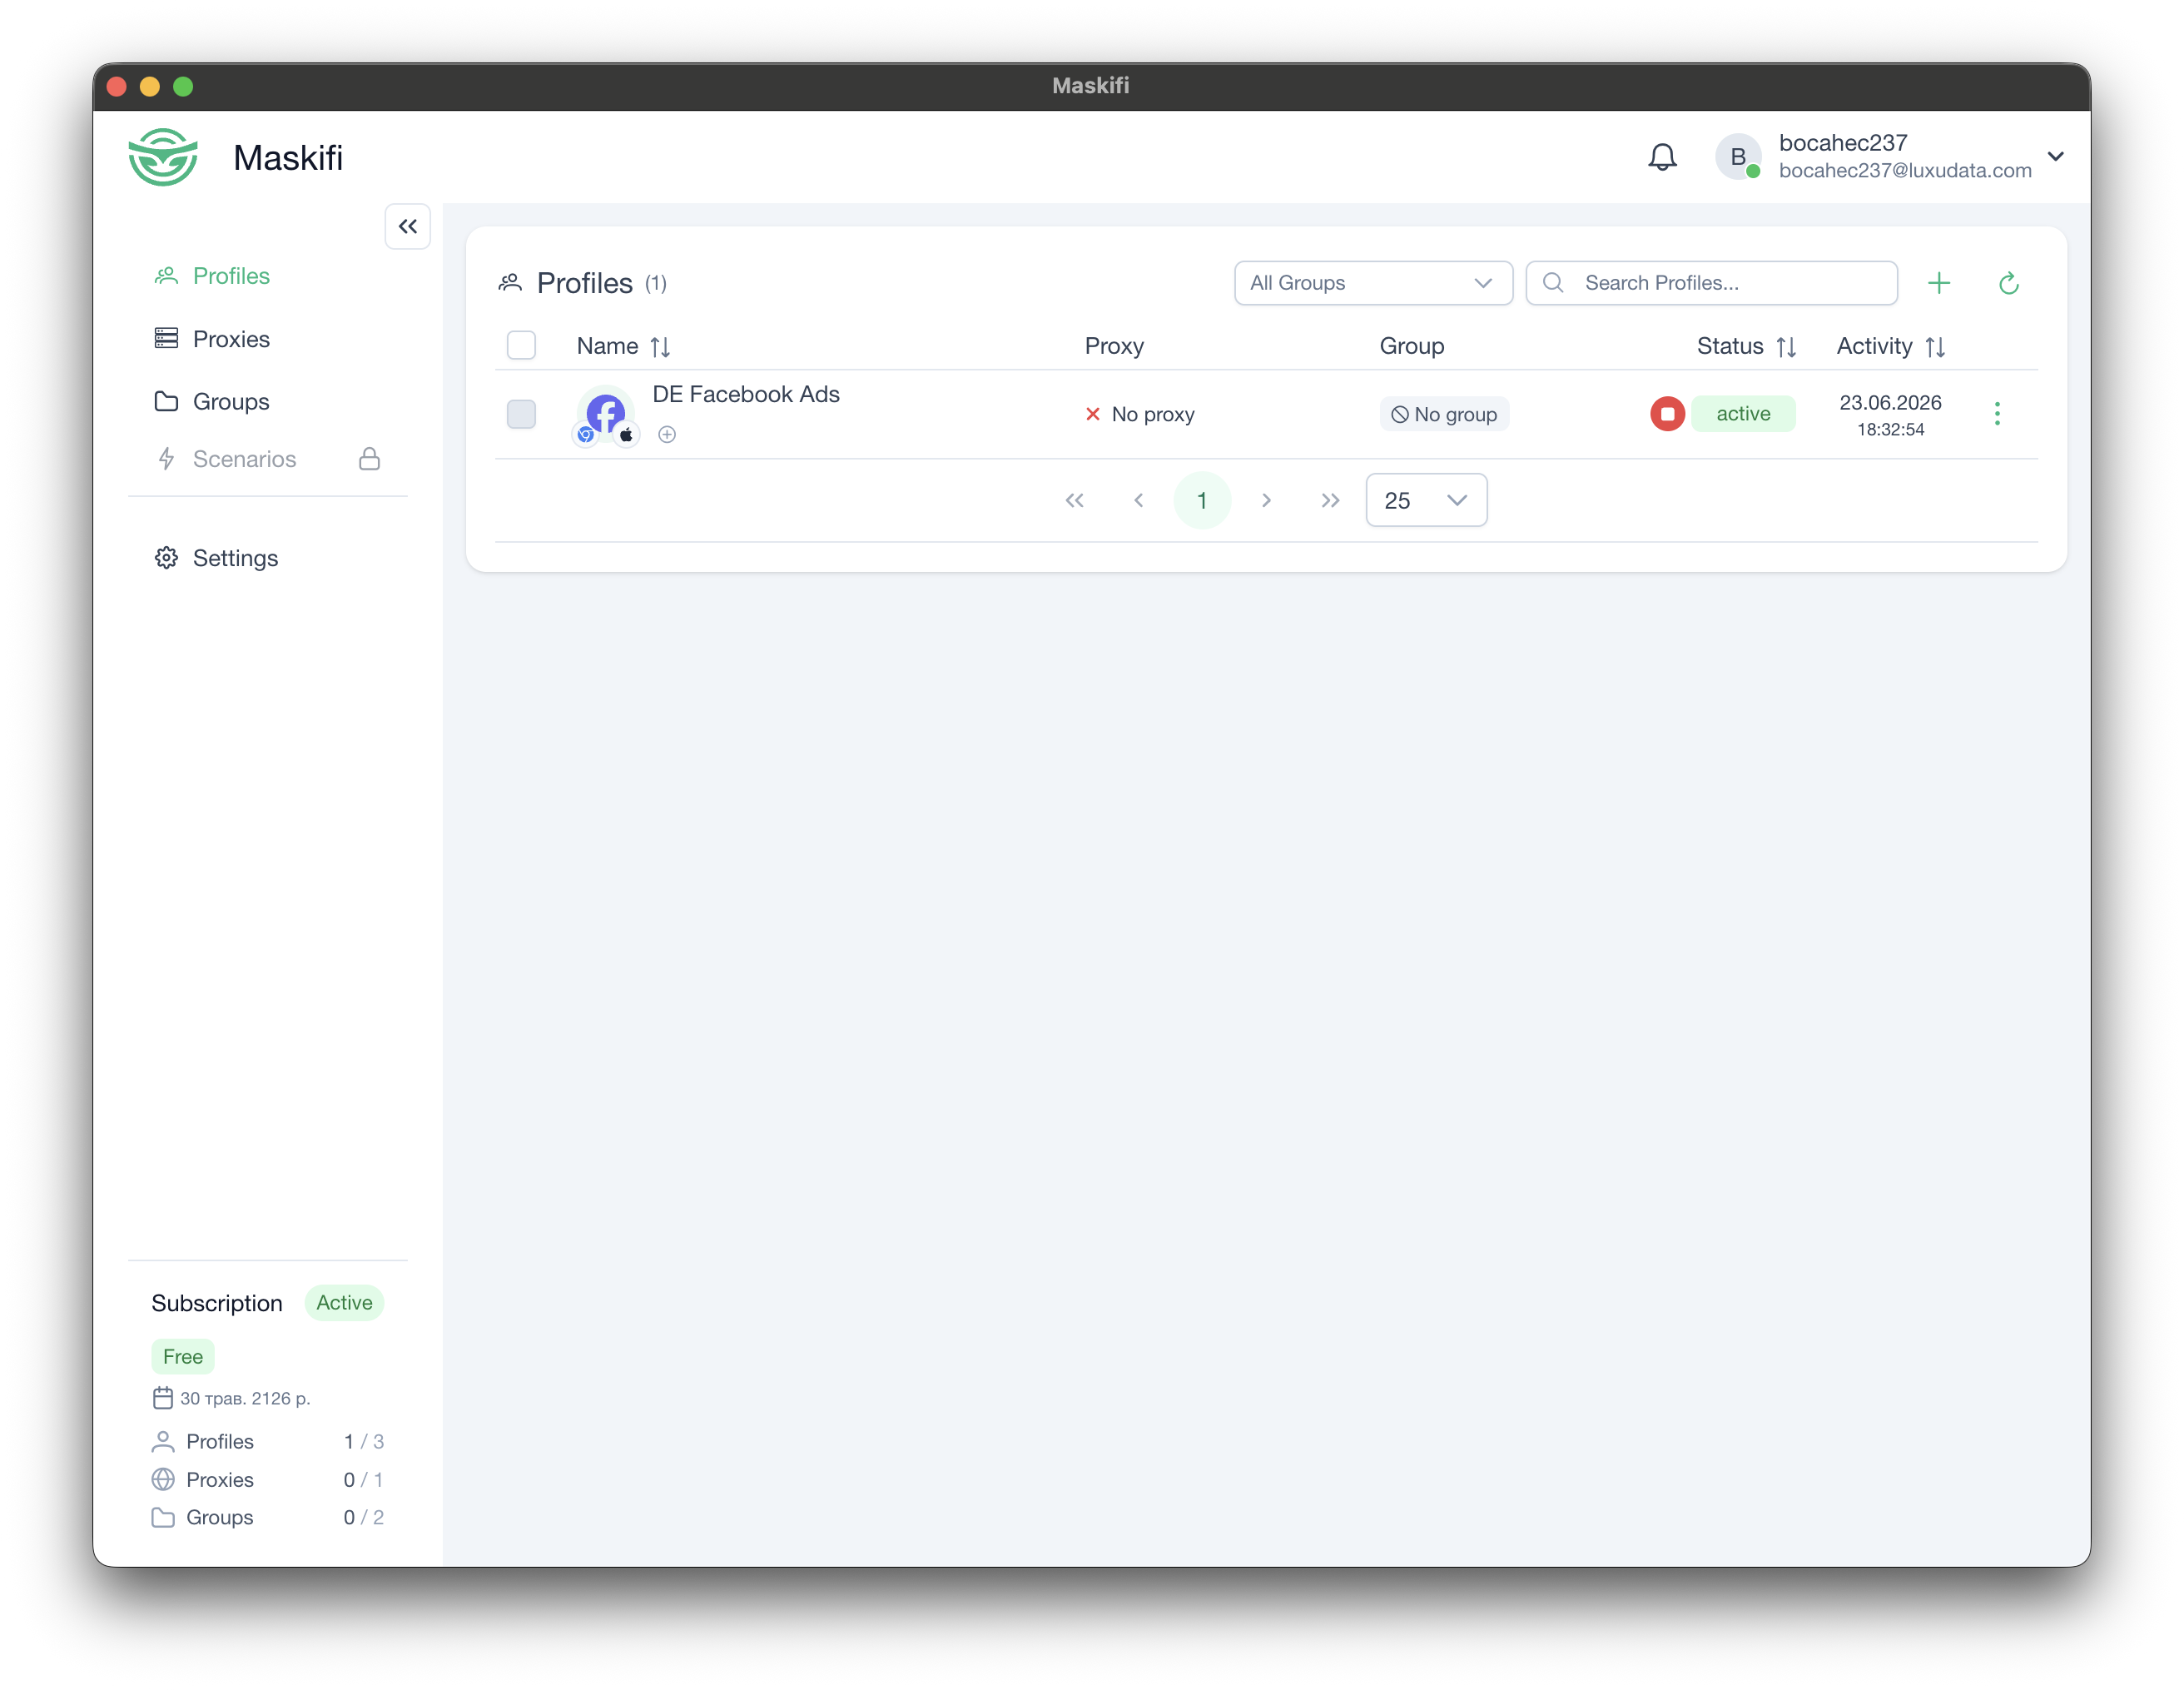
To stop the profile, click the Stop button on the profile row. The browser closes and the profile returns to the Stopped state.
What's next
- Add a proxy to the profile — see Assigning to profiles.
- Learn about fingerprint options — see Fingerprint editor.
- Organise profiles into groups — see Groups.
- Import profiles in bulk — see Importing profiles.